LearnPress or LifterLMS is a question that will often come up if you’re looking for a way to turn a WordPress site into an e-learning platform.
More than that, LearnPress and LifterLMS are among the very best LMS (Learning Management System) solutions of them all.
This brings me to the main question: Which is better? LearnPress or LifterLMS?
In this comparison, I’ll point out the main differences between these platforms, list their pros and cons and help you to decide which one to use for your specific project.
I’ll go through the features of LearnPress vs LifterLMS, their ease of use, designs, pricing and more.
Let’s get started:
↪Note: if you’ve not decided on which LMS plugin to use yet and are interested in viewing a list of the best WordPress LMS plugins available, check out this other post of ours – here!
Table of Contents:
🥜 Basic Information
Both LearnPress and LifterLMS allow you to do more or less the same thing. Using them, you can take your otherwise standard WordPress website and turn it into a fully fledged e-learning platform.
LearnPress and LifterLMS both come in the form of WordPress plugins, and both give you their basic functionality for free. That is, you can create your online courses and make them public for free.
However, if you want to start selling access to your courses, you’ll have to upgrade to one of the many premium tiers available with either solution.
One more neat thing about both LearnPress and LifterLMS is that you don’t have to change your current theme or build a completely new instance of WordPress to host your edu material. Both solutions can plug into your existing site and work problem-free.
LearnPress and LifterLMS also come with loads of add-ons that let you tailor your LMS to fit your needs exactly. There are add-ons for things such as payments, certificates, affiliates, reviews, coupons, reporting, course bundles, discussion areas, WooCommerce integrations and a lot more. I’ll talk about those below.
🧰 Features
On the surface, both solutions have many similarities. And, to be honest, if you only want to create and host a basic online course, either platform will do a great job for that!
However, above those entry-level applications, LearnPress vs LifterLMS differ greatly when it comes to interfaces, extensions and the overall workflow of building a course. Here’s a quick rundown of the key features both platforms have to offer:

- Works with any WordPress theme.
- You can create unlimited lessons, courses, quizzes and questions.
- Drag-and-drop builder interface for courses — use it for arranging lessons and quizzes.
- Your courses can include standard text content, images, videos, documents and slideshows.
- Set your courses to be free or paid, available for a one-time payment or based on a monthly subscription.
- Lesson previews before enrollment.
- Course import and export.
- Add students to courses by hand or let them register on their own.
- Prerequisites and drip content — control students’ access to lessons by requiring them to complete certain steps before they can proceed.
- Memberships and membership levels for students.
- Gradebook — see your students’ scores and results for each quiz.
- Analytics and statistics module.
- Various payment methods, payment gateways and payment plans.
- Coupons — offer discounts on your courses.

- Works with any WordPress theme.
- You can create unlimited lessons, courses, quizzes and questions.
- Drag-and-drop course and lesson builder; supports the block editor in WordPress.
- Create multimedia lessons containing video, audio, text, images and more.
- Use drip content — control your learner focus and progress.
- Prerequisites — give learners access to content based on the completion of specific previous steps.
- Offer degree programs or certifications with course tracks.
- Student dashboards.
- Lesson downloads.
- Course import and export.
- Discussion areas.
- Course reviews.
- Integrations with form plugins — for collecting assignments, contact messages and more.
- Multiple forms of payment for courses, including payment plans and even payment switching for users (pay with one method, then switch to a different one later).
- One-time and recurring payments, coupons.
- Subscriptions, memberships, special member-only pricing.
- Offer course bundles and bulk sales.
- Private coaching upsells.
- Affiliate-ready, sell courses from any country and in any currency.
- Achievement badges, certificates, social learning, private coaching
- Detailed reports, gradebooks and student management.
LearnPress features: ⭐⭐ /3
LifterLMS features: ⭐⭐⭐ /3
LearnPress and LifterLMS are both freemium products. The features that are mandatory for creating and running an e-learning course are available for free, and everything else is available as a paid add-on.
For example, payment gateways, payment methods, memberships and subscriptions are some of the most common paid upgrades. At the time of writing, both LearnPress and LifterLMS were offering in the range of 20-plus add-ons.
👐 Ease of Use
The question of which is easier to use between LearnPress vs LifterLMS is key for our comparison. After all, not all e-learning sites are run by people with website-building backgrounds. Most of the time, it’s teachers who have to deal with the platform daily.
But let’s start at the beginning — here’s how easy it is to get either platform installed and then use it on a day-to-day basis.
Working With LearnPress
Installing the LearnPress plugin is a fairly standard WordPress experience to begin with. Right after you activate the plugin, you’ll be invited to go through the setup wizard. This is where you can set the main parameters of your site.
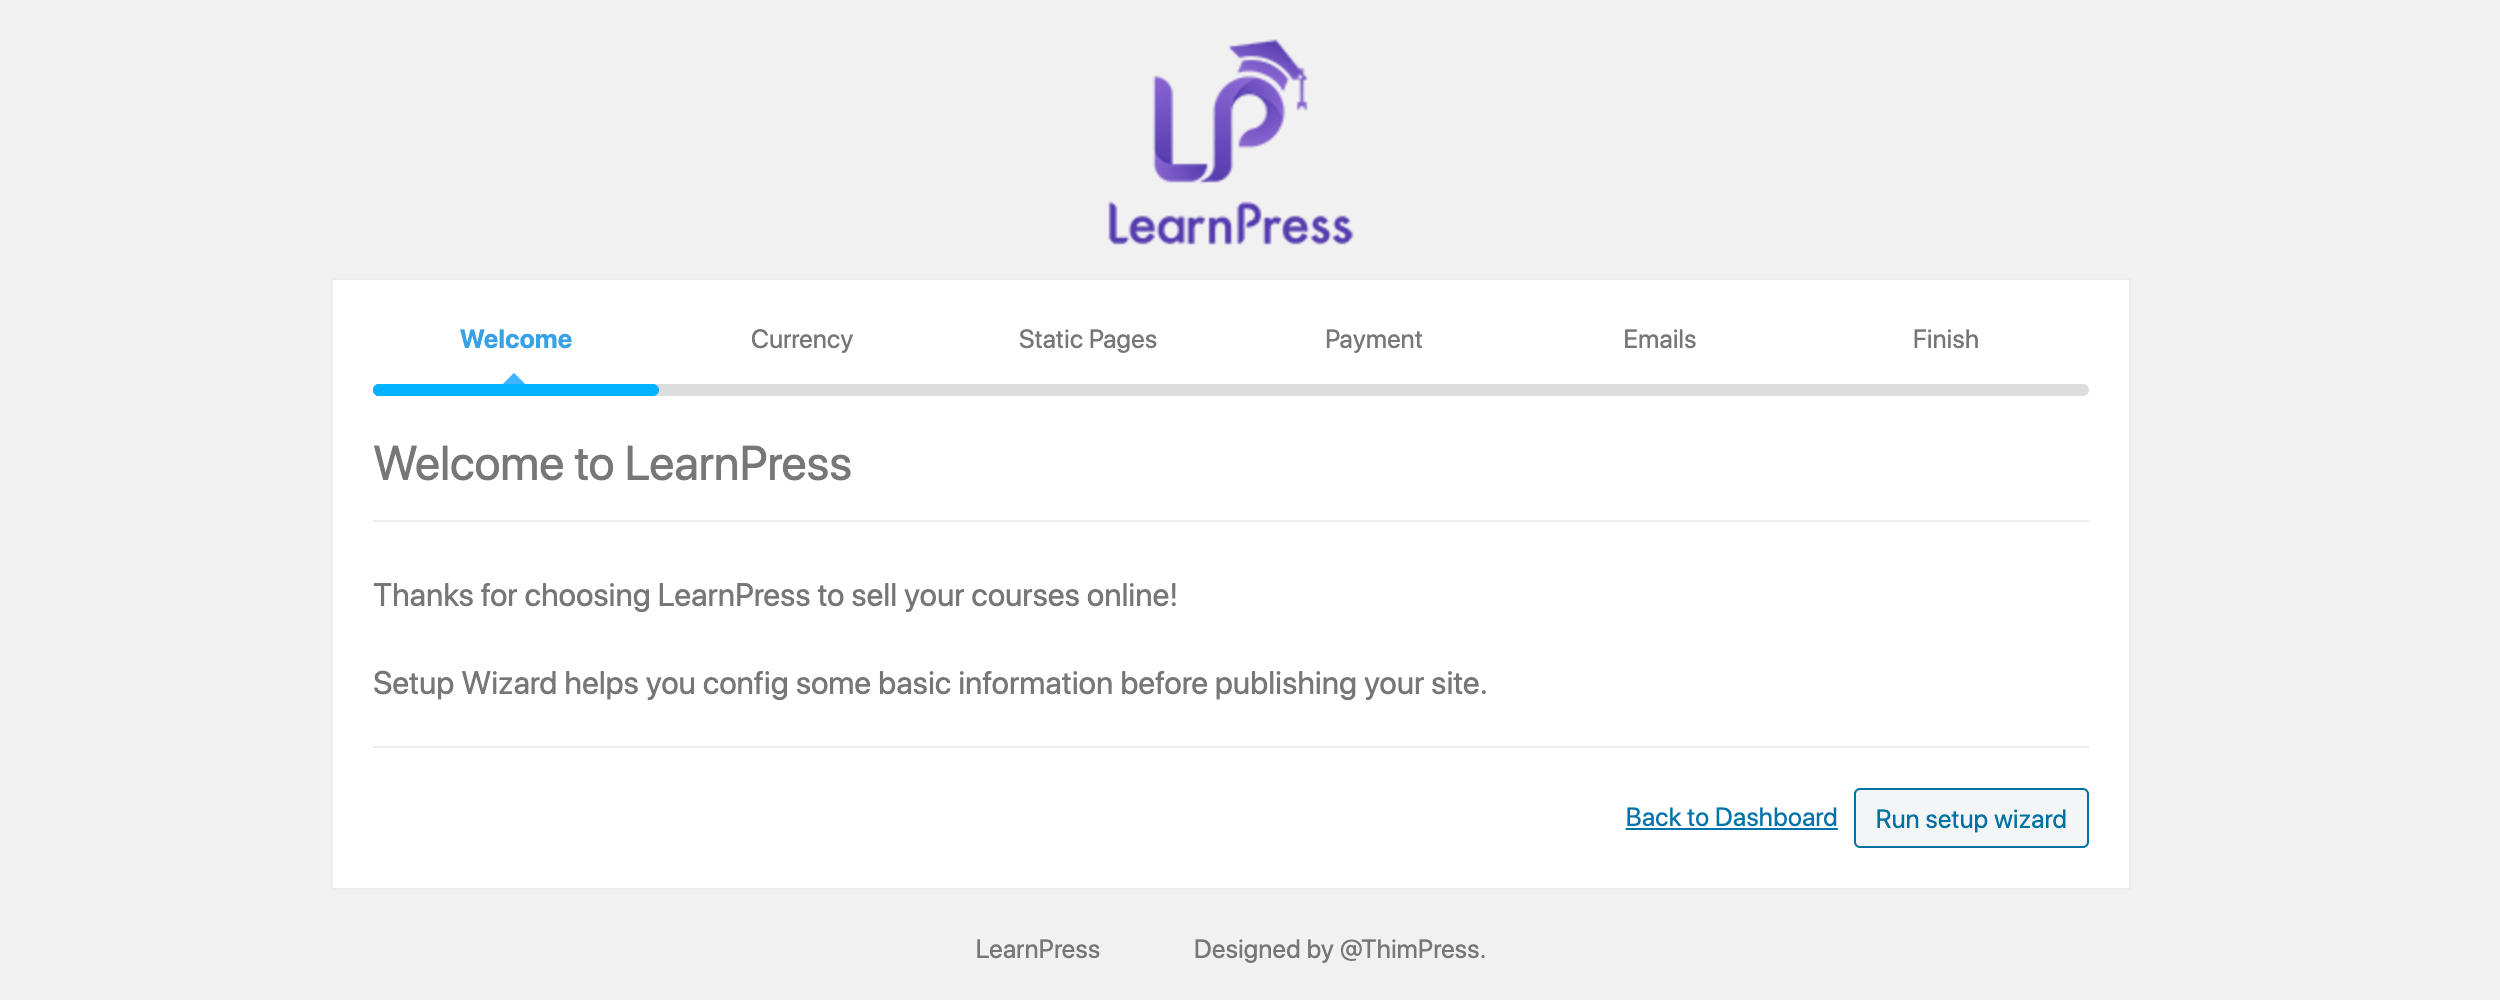
These include your currency and locale settings, static pages (for courses, profile, checkout), enabling PayPal, and email notifications.
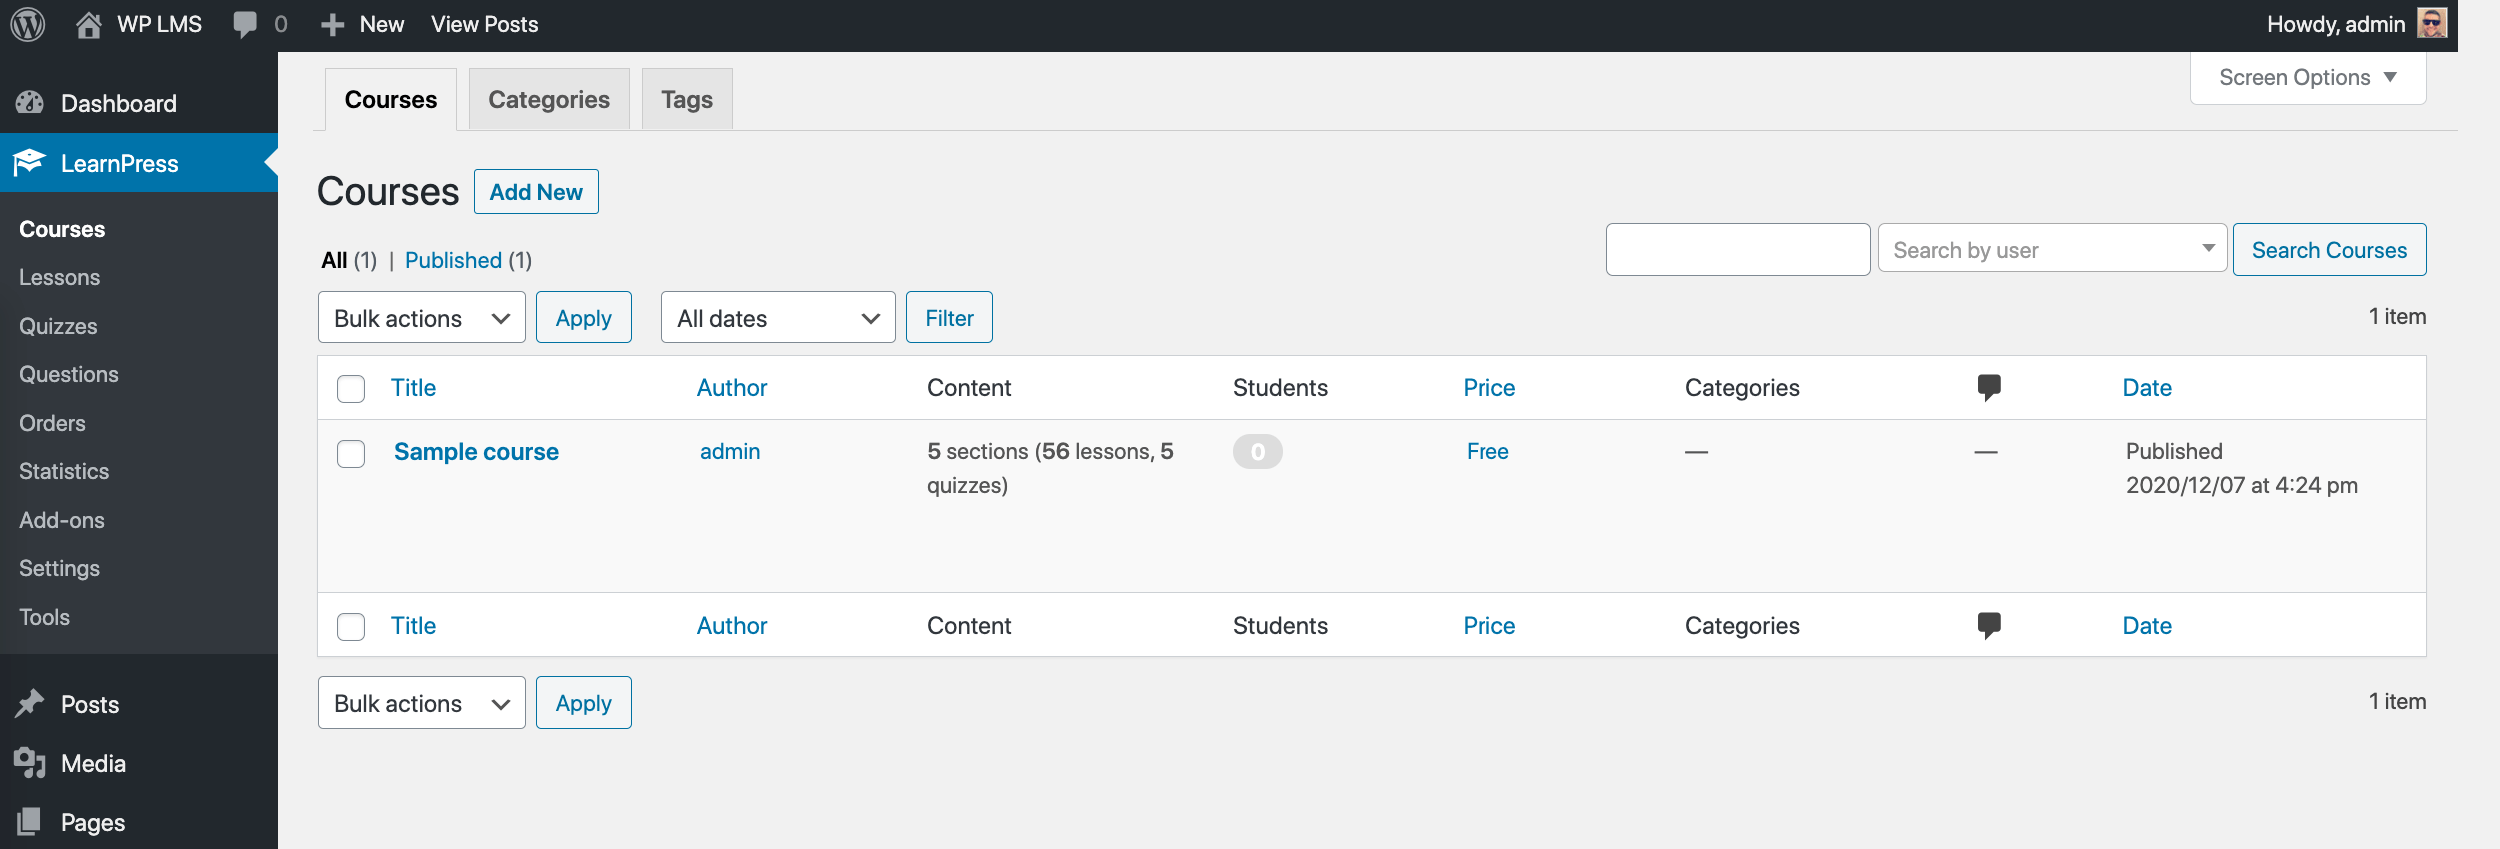
When you’re done with the wizard, you can also choose to install a sample course or create a new one from scratch. Going with the former is the easier method since you can see how a course is structured in LearnPress, and then either modify it — replace with your info — or create a new one in its image.
Your freshly imported course can be seen in the LearnPress section of the WordPress dashboard.
Once you click on the name of the course, you’ll be taken to the standard WordPress editing interface — albeit, this is the older version of the interface — the pre-block interface.
The page you’re looking at is the course summary page, which users see before enrollment. To see the individual lessons, and also to edit them, you just have to scroll down.
Each lesson can be edited as a standard WordPress content page. When doing so, you get the same classic WordPress editing UI.
Unfortunately, at the time of writing, there was no option to switch to the block editor for lesson creation.
Speaking of lesson creation — and course creation in general — it’s all fairly straightforward and intuitive. The LearnPress menu makes the key sections easily available.
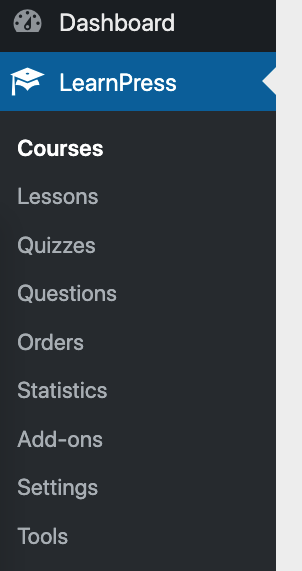
Let’s focus on the four initial items here: Course, Lessons, Quizzes and Questions.
These are the main elements that make up your e-learning content. Your Courses will contain Lessons and Quizzes; your Quizzes will comprise several Questions each.
Now, when building a new course, you’ll go to Courses and click on Add New. From there, you can add the ‘cover’ or invitation page of your course. This is where you want to share the overview of what the course is about.
When you have this summary page ready, you can scroll down to set the course’s core details.
This is where you can set the course’s duration, maximum students accepted, assessment rules, pricing (if it’s meant to be a paid course) and a couple of other details. There’s nothing intimidating, and you’ll get a grasp of what’s going on quickly.
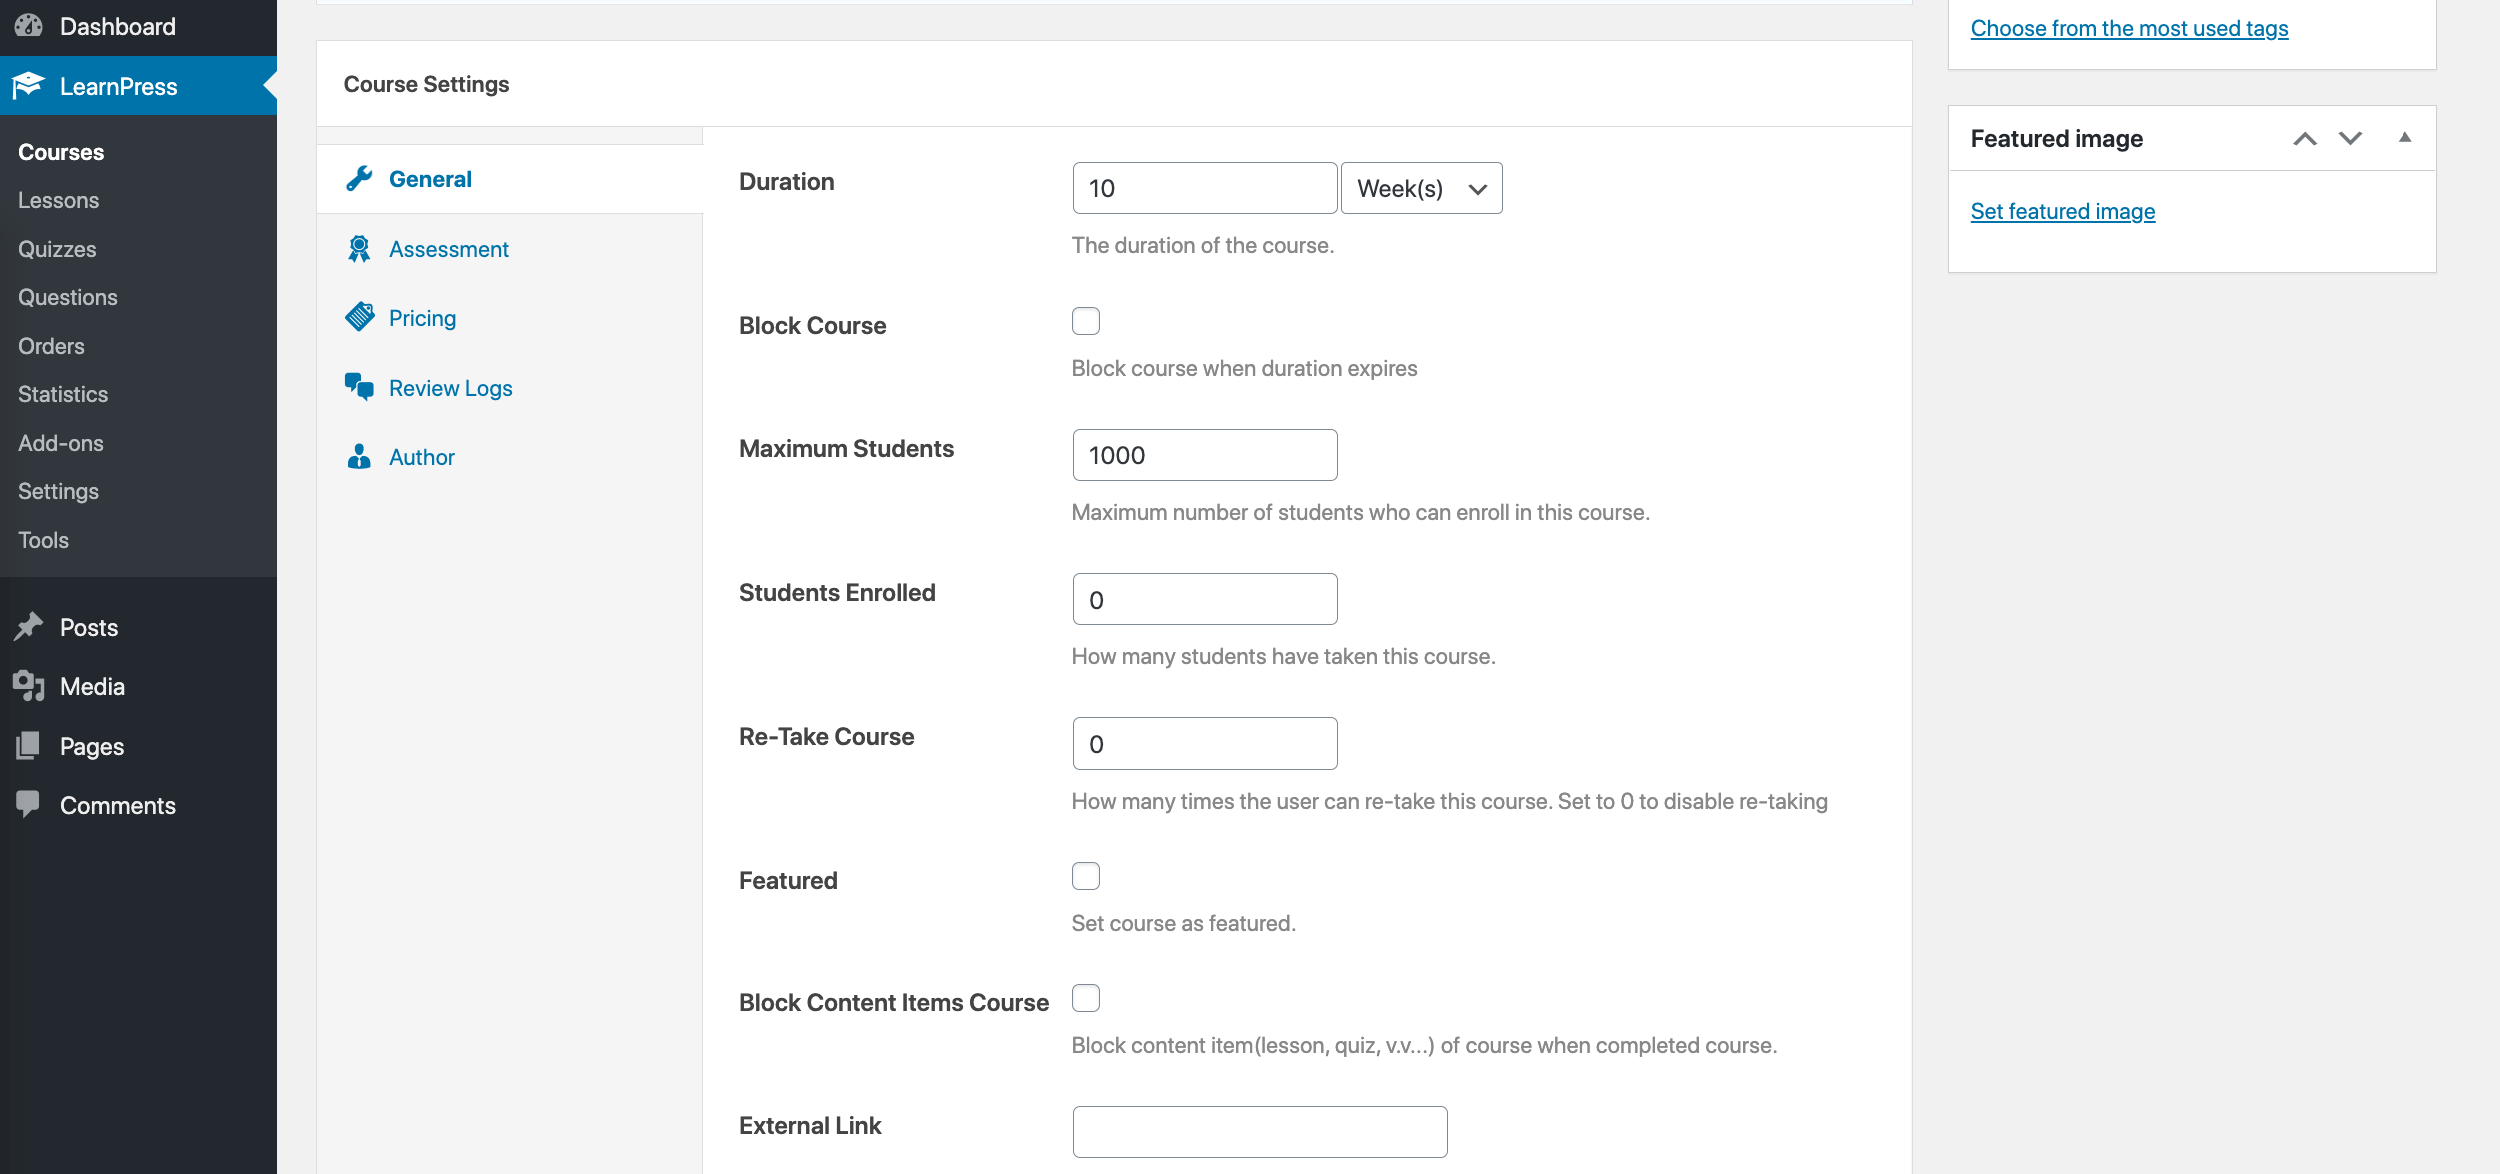
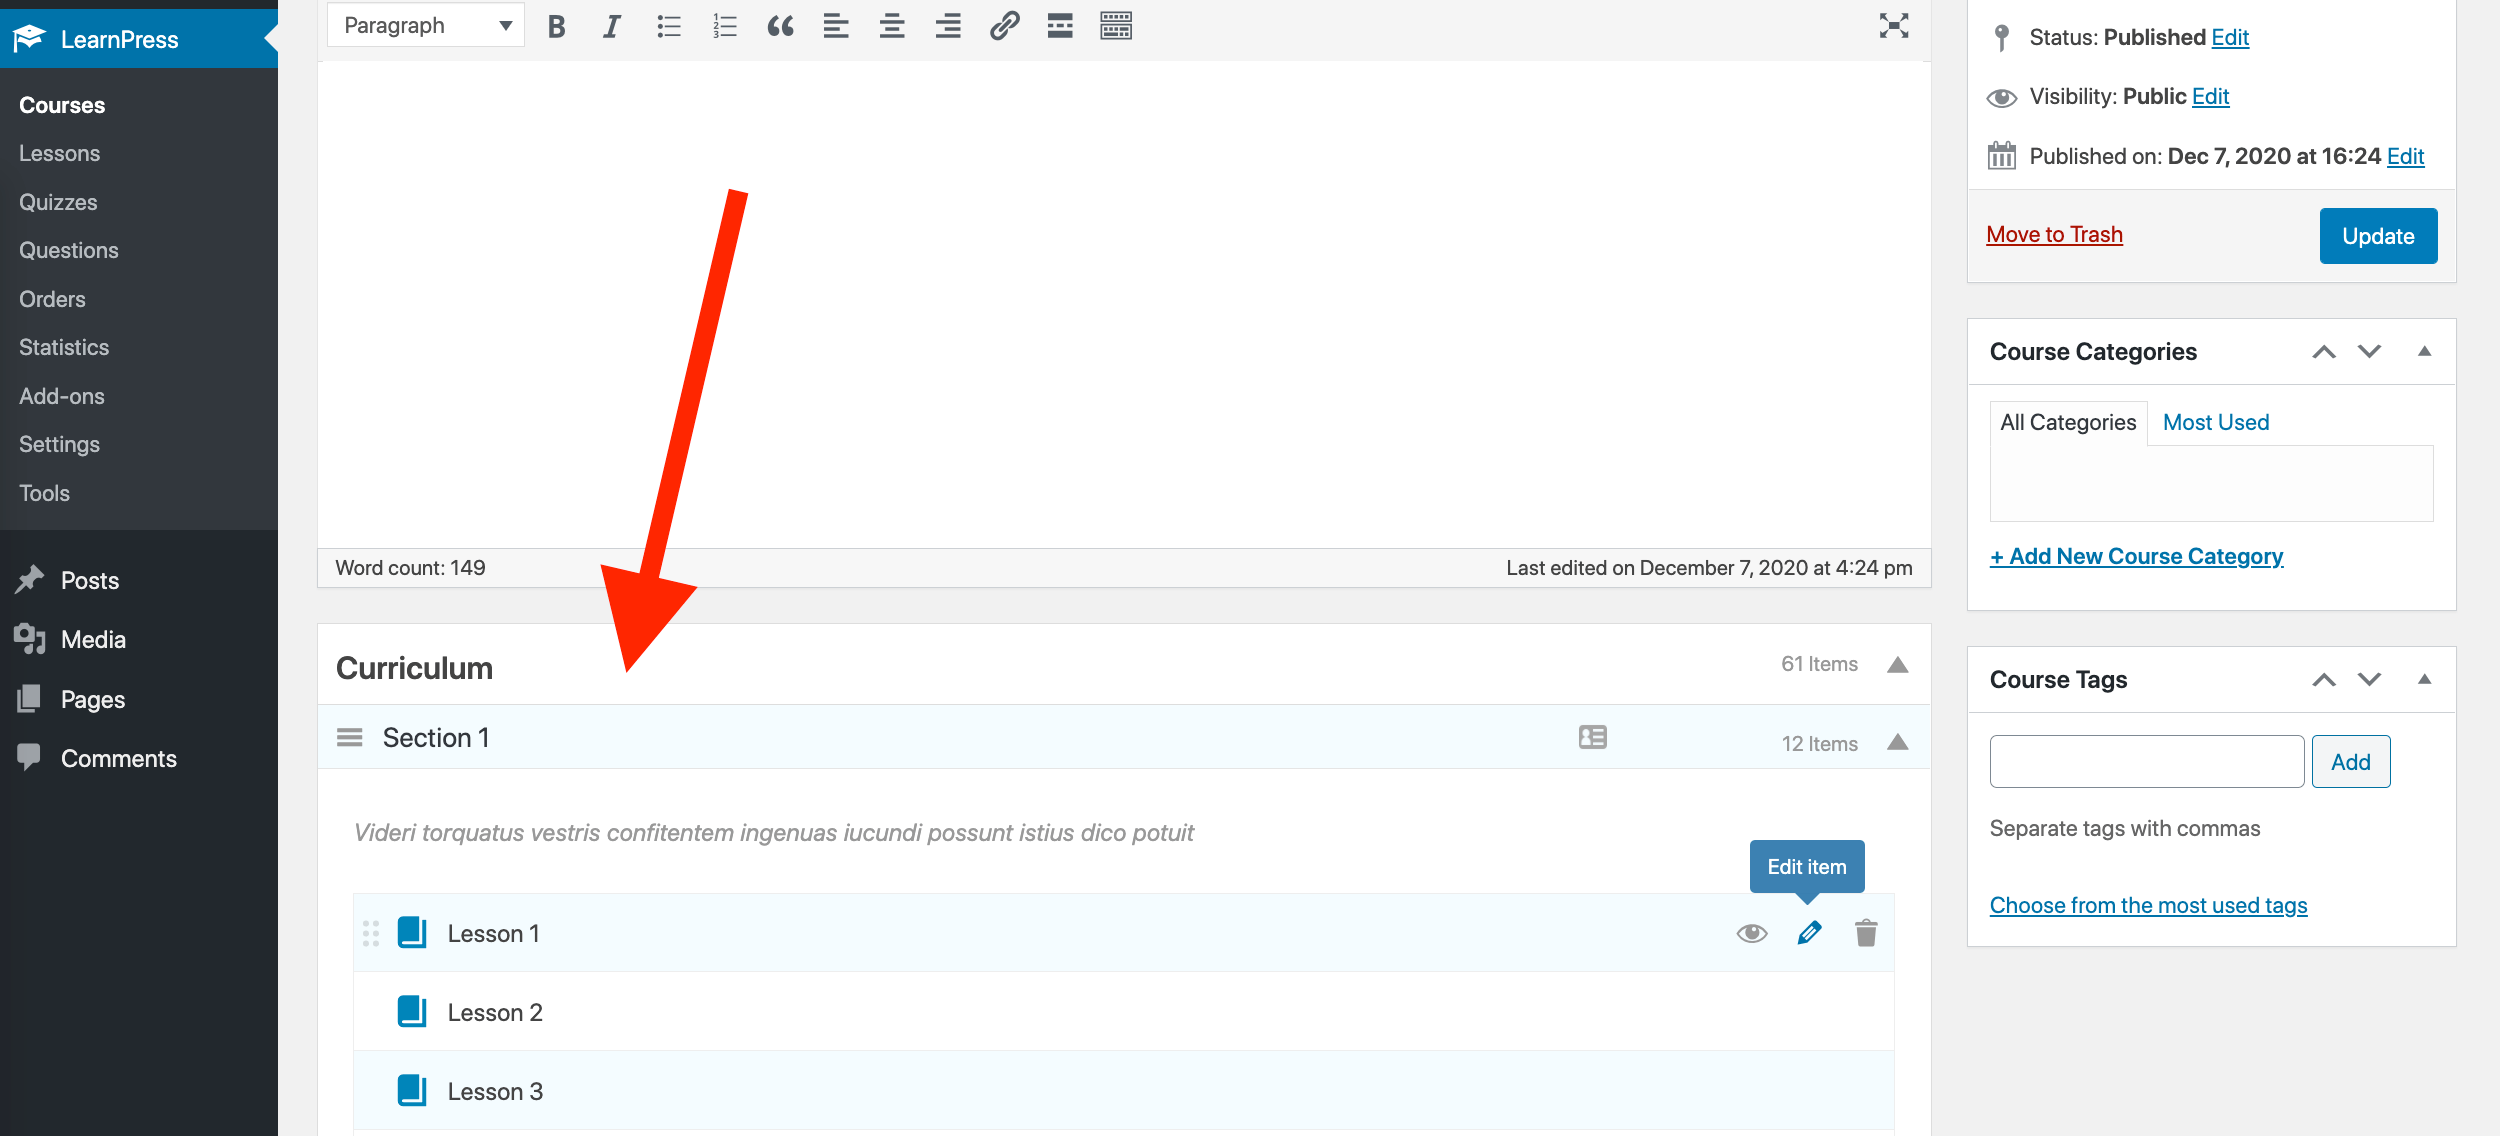
In the same area of the screen, you’ll find the Curriculum section. This is where the bulk of your work with course setup is going to happen. As instructed, you can begin typing to add a new section (chapter) to your course.

Press Enter to approve the section name. Similarly, you’ll be able to add the first lesson here.
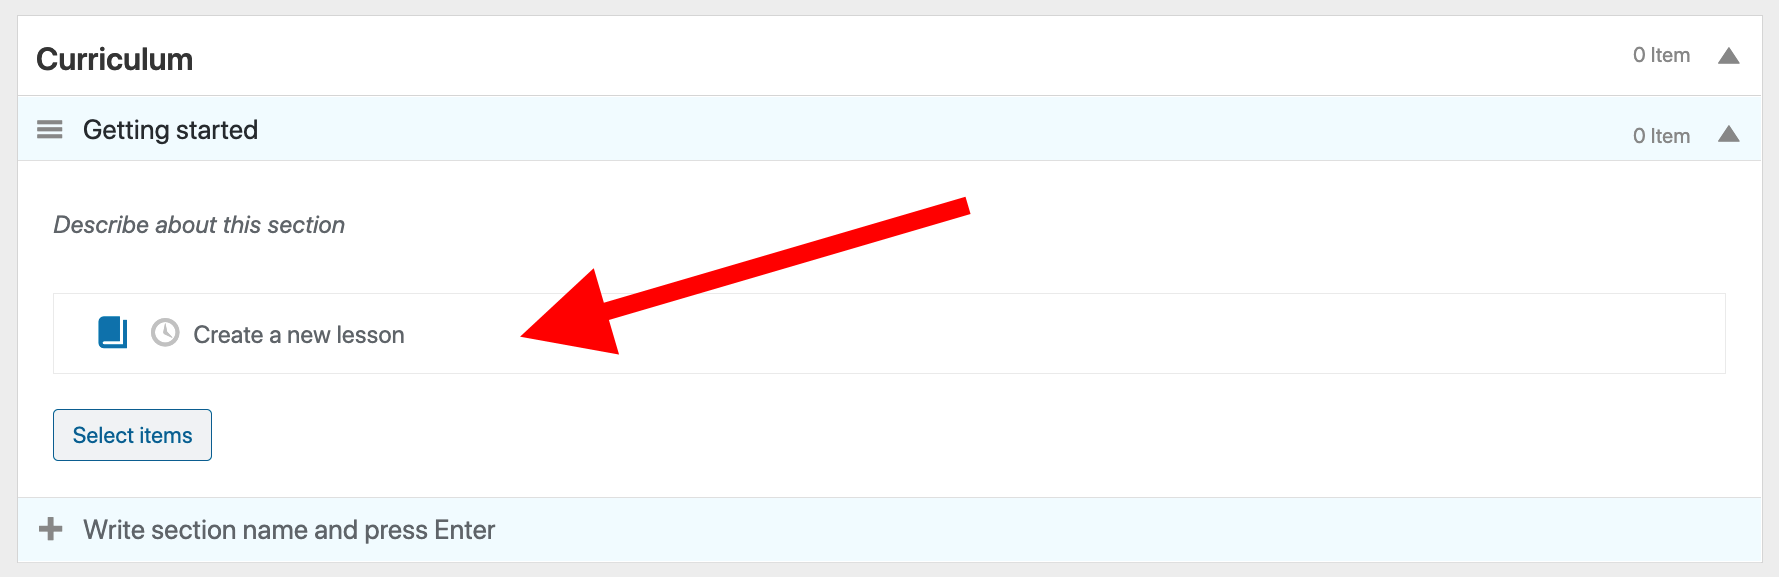
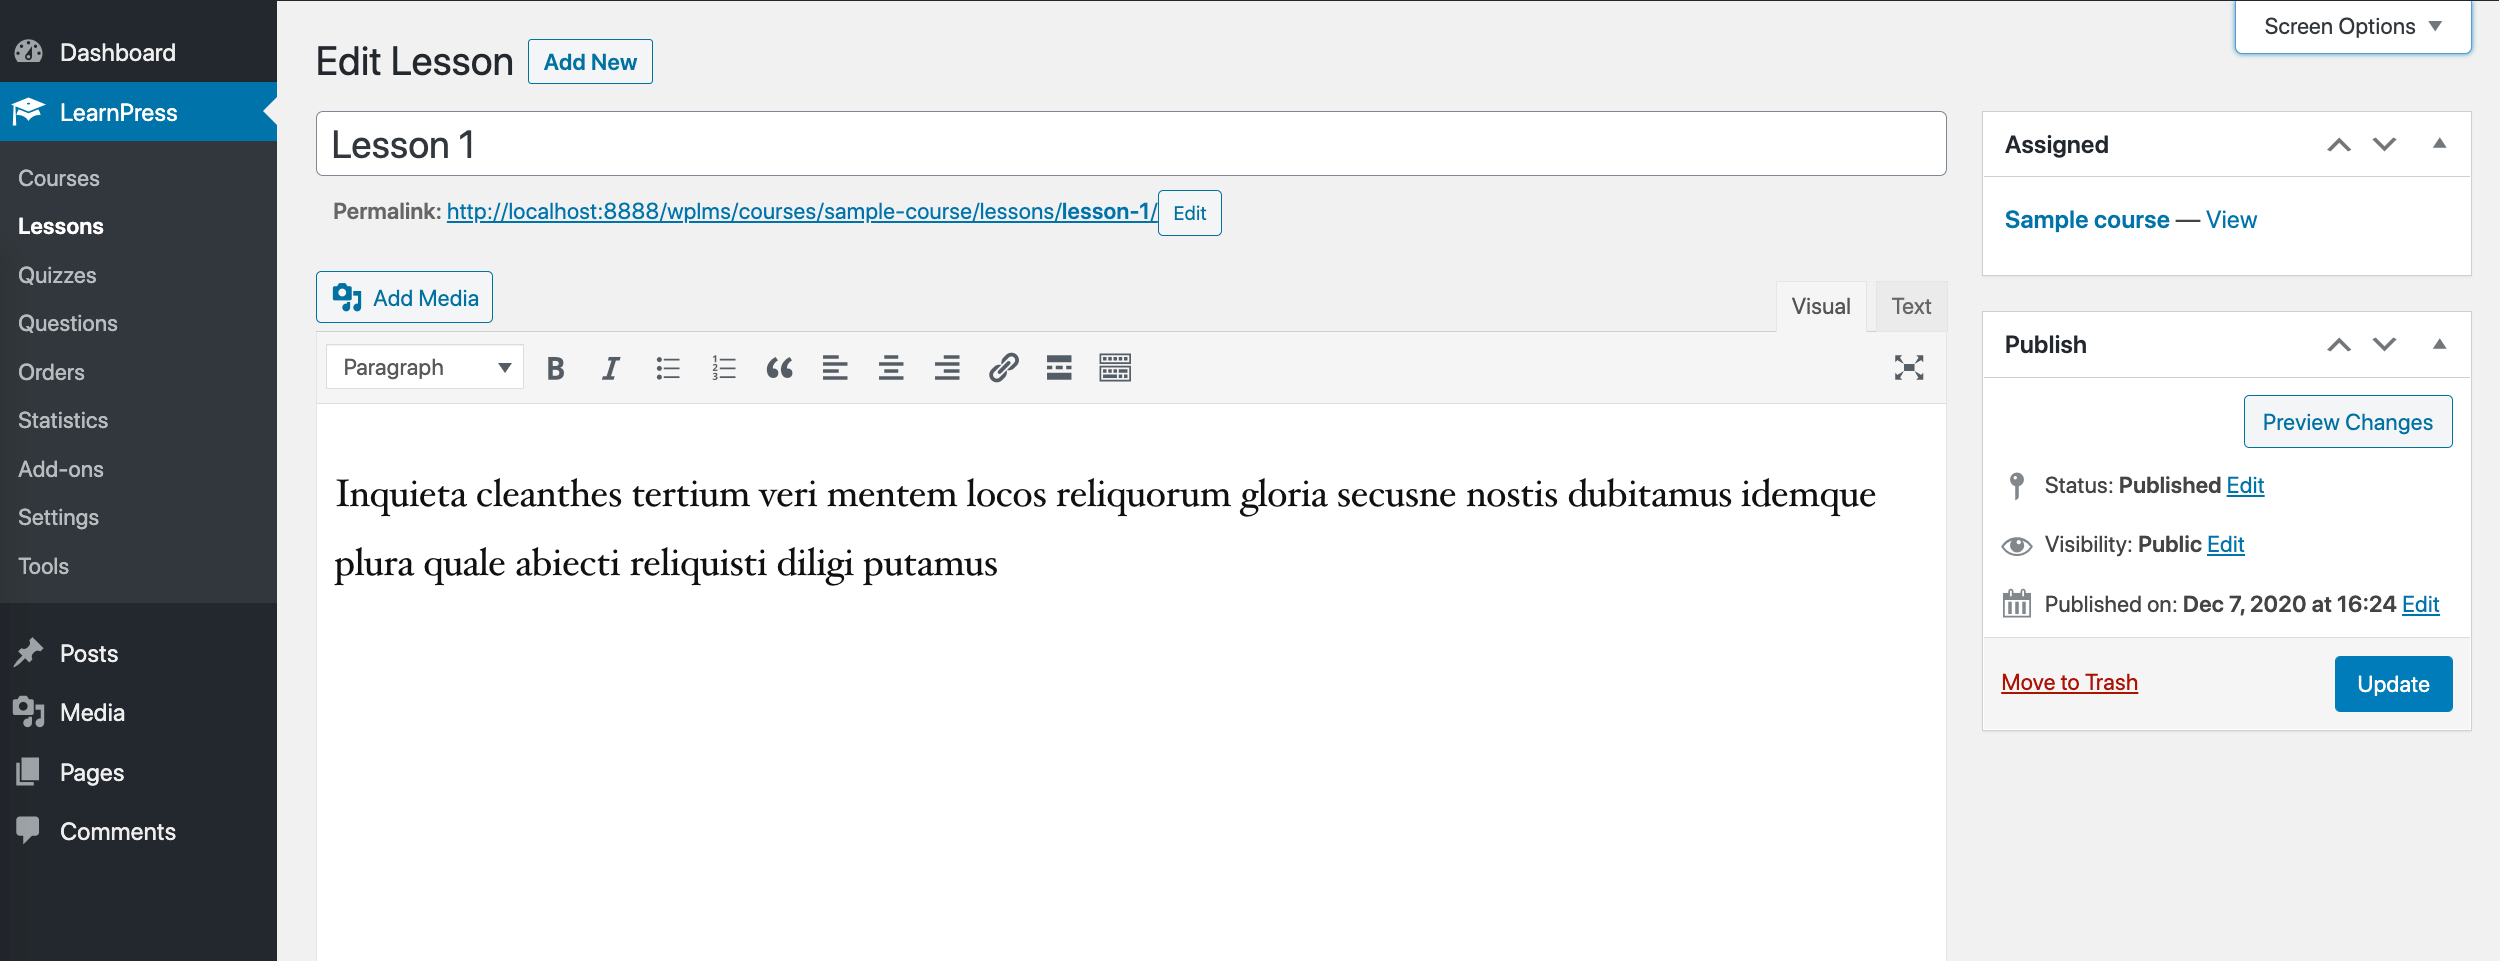
You can edit each new lesson by clicking on the pencil icon next to it.
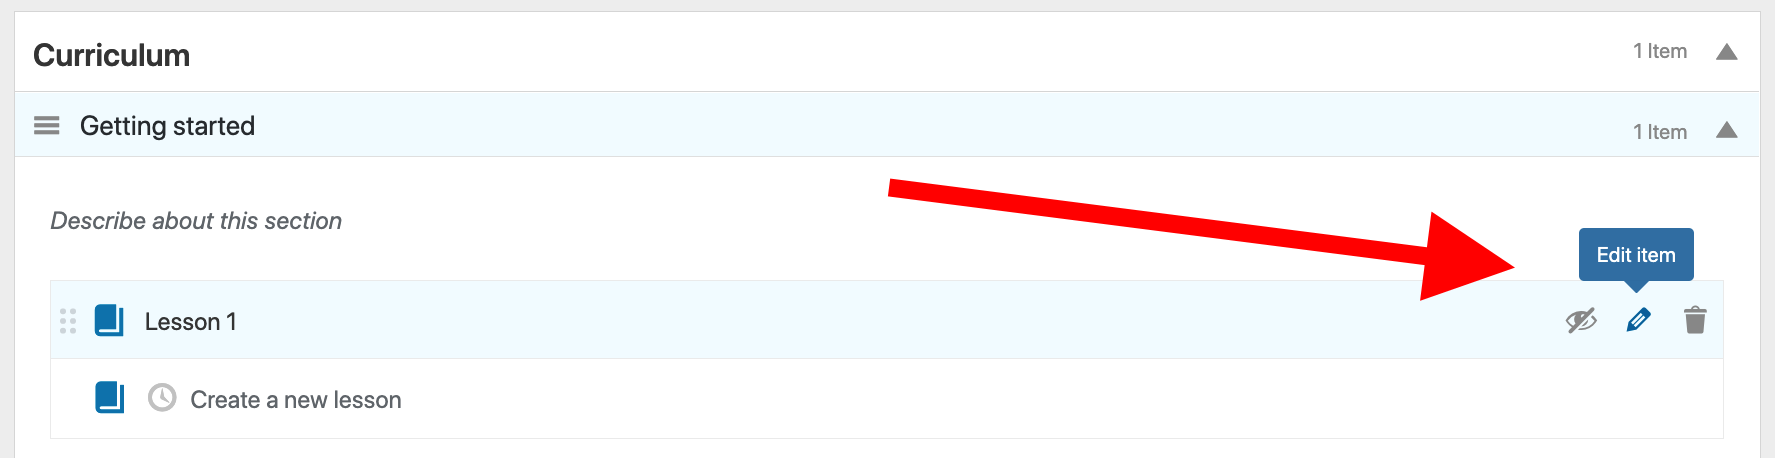
When you do that, you’ll be taken to a new page where you’ll get to add content to your lesson — again, via the standard WordPress editing interface.
Just like that, you can type in your lessons one by one until you have the whole course done. This being the standard WordPress interface means you can also add media to your lessons — images, videos, audio files or any other type of content.
A section of an e-learning course usually ends with a quiz, and LearnPress enables you to create those as well. To do that, just click on the clock icon that’s next to the main lesson icon on the lessons list — this one:
This will switch you to the quiz creation option. You can type in the name of your quiz here and then add questions to it.
Overall, this is all quite easy to grasp once you begin working on your course and spend a couple of hours here.
Working With LifterLMS
Getting LifterLMS installed is done nearly the same way as installing LearnPress. Right after activating the plugin, you’ll be taken through the setup wizard.
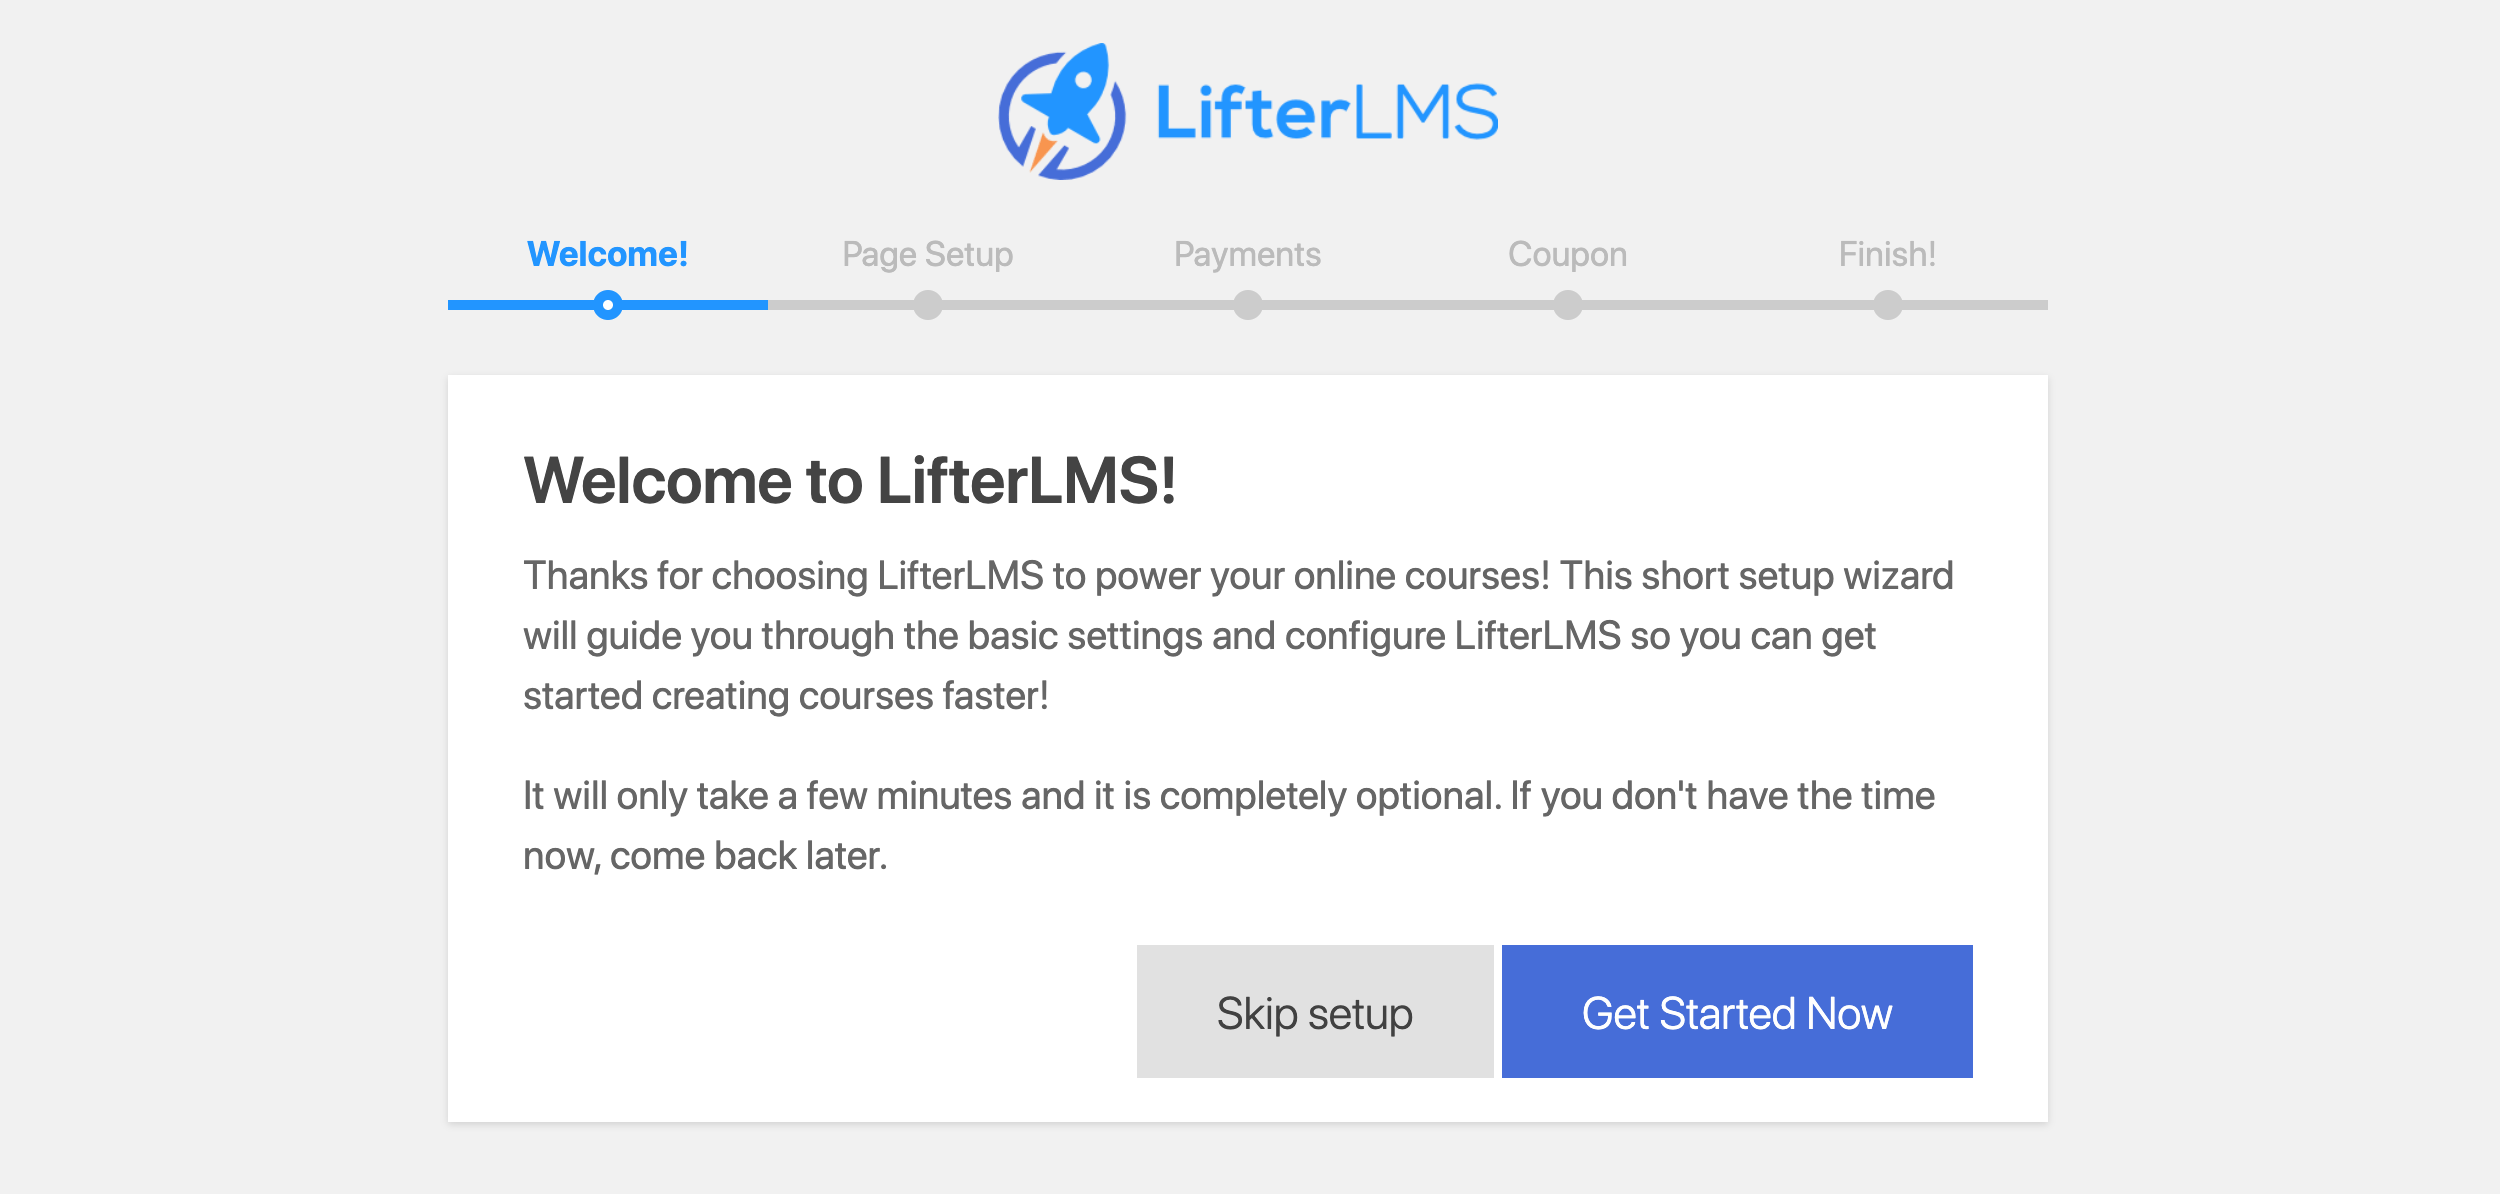
However, this time you don’t have to create the required pages one by one — LifterLMS will do that for you.
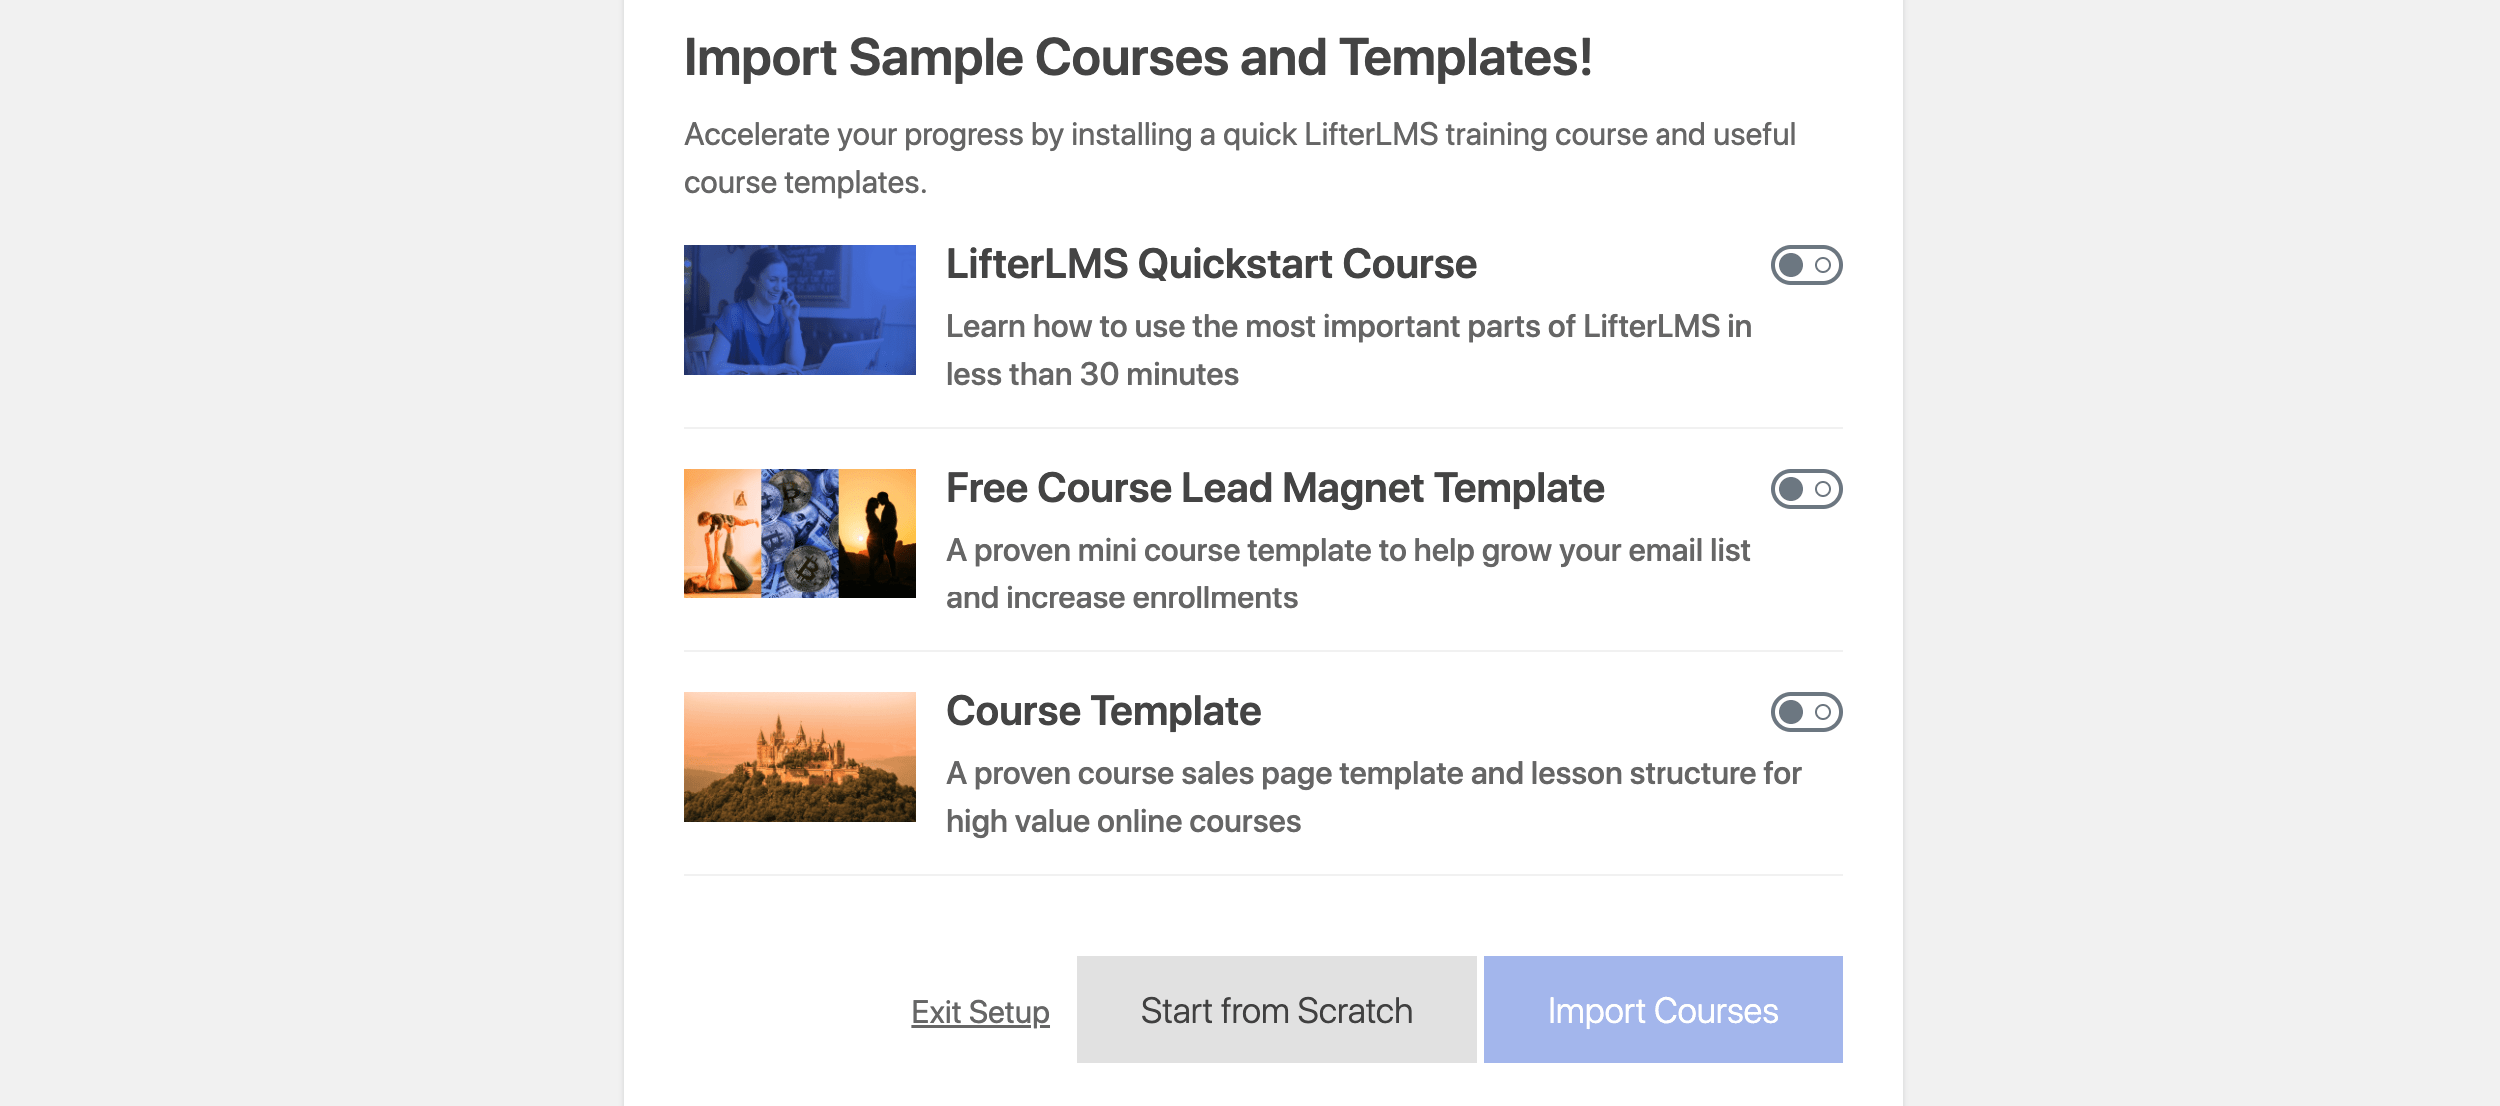
The wizard will only take about a minute in total. At the end, you’ll be able to import a couple of sample courses. This is a recommended step since it will show you how LifterLMS courses are structured and how to best create your own.
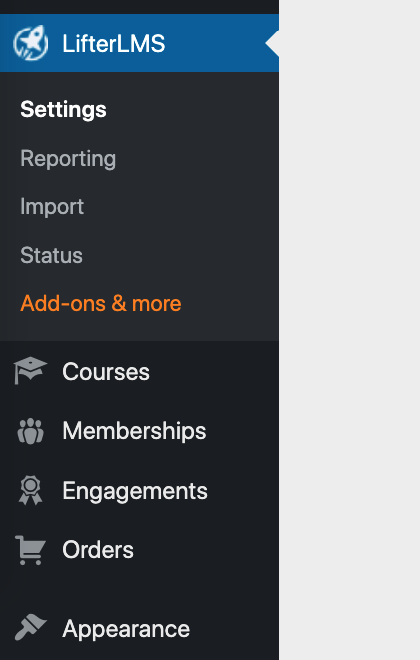
The LifterLMS dashboard is a bit more extensive than LearnPress’. First, there are multiple new sections in the WordPress sidebar, as opposed to just one with LearnPress.
This is a potentially more functional structure if your website is meant to be all about the courses you have.
All functionality of LifterLMS’s is easy to access via these new menu items, which is especially optimized for day-to-day work with your courses later.
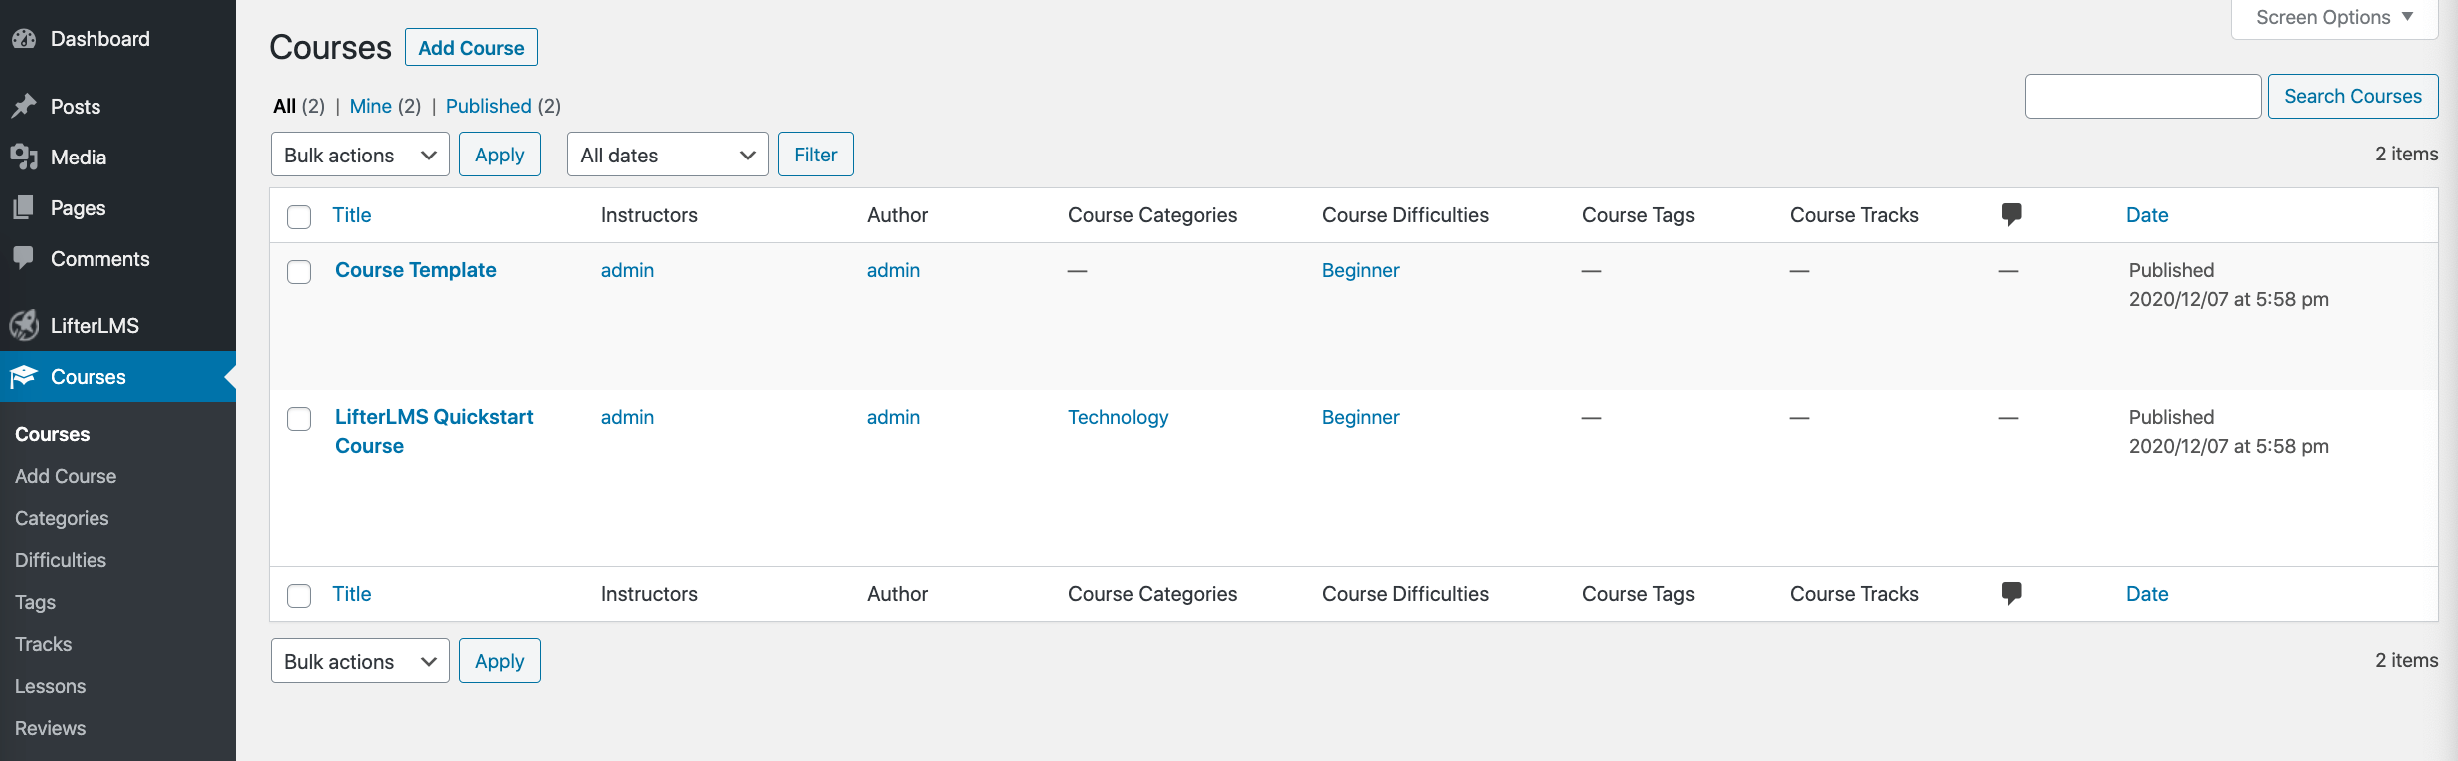
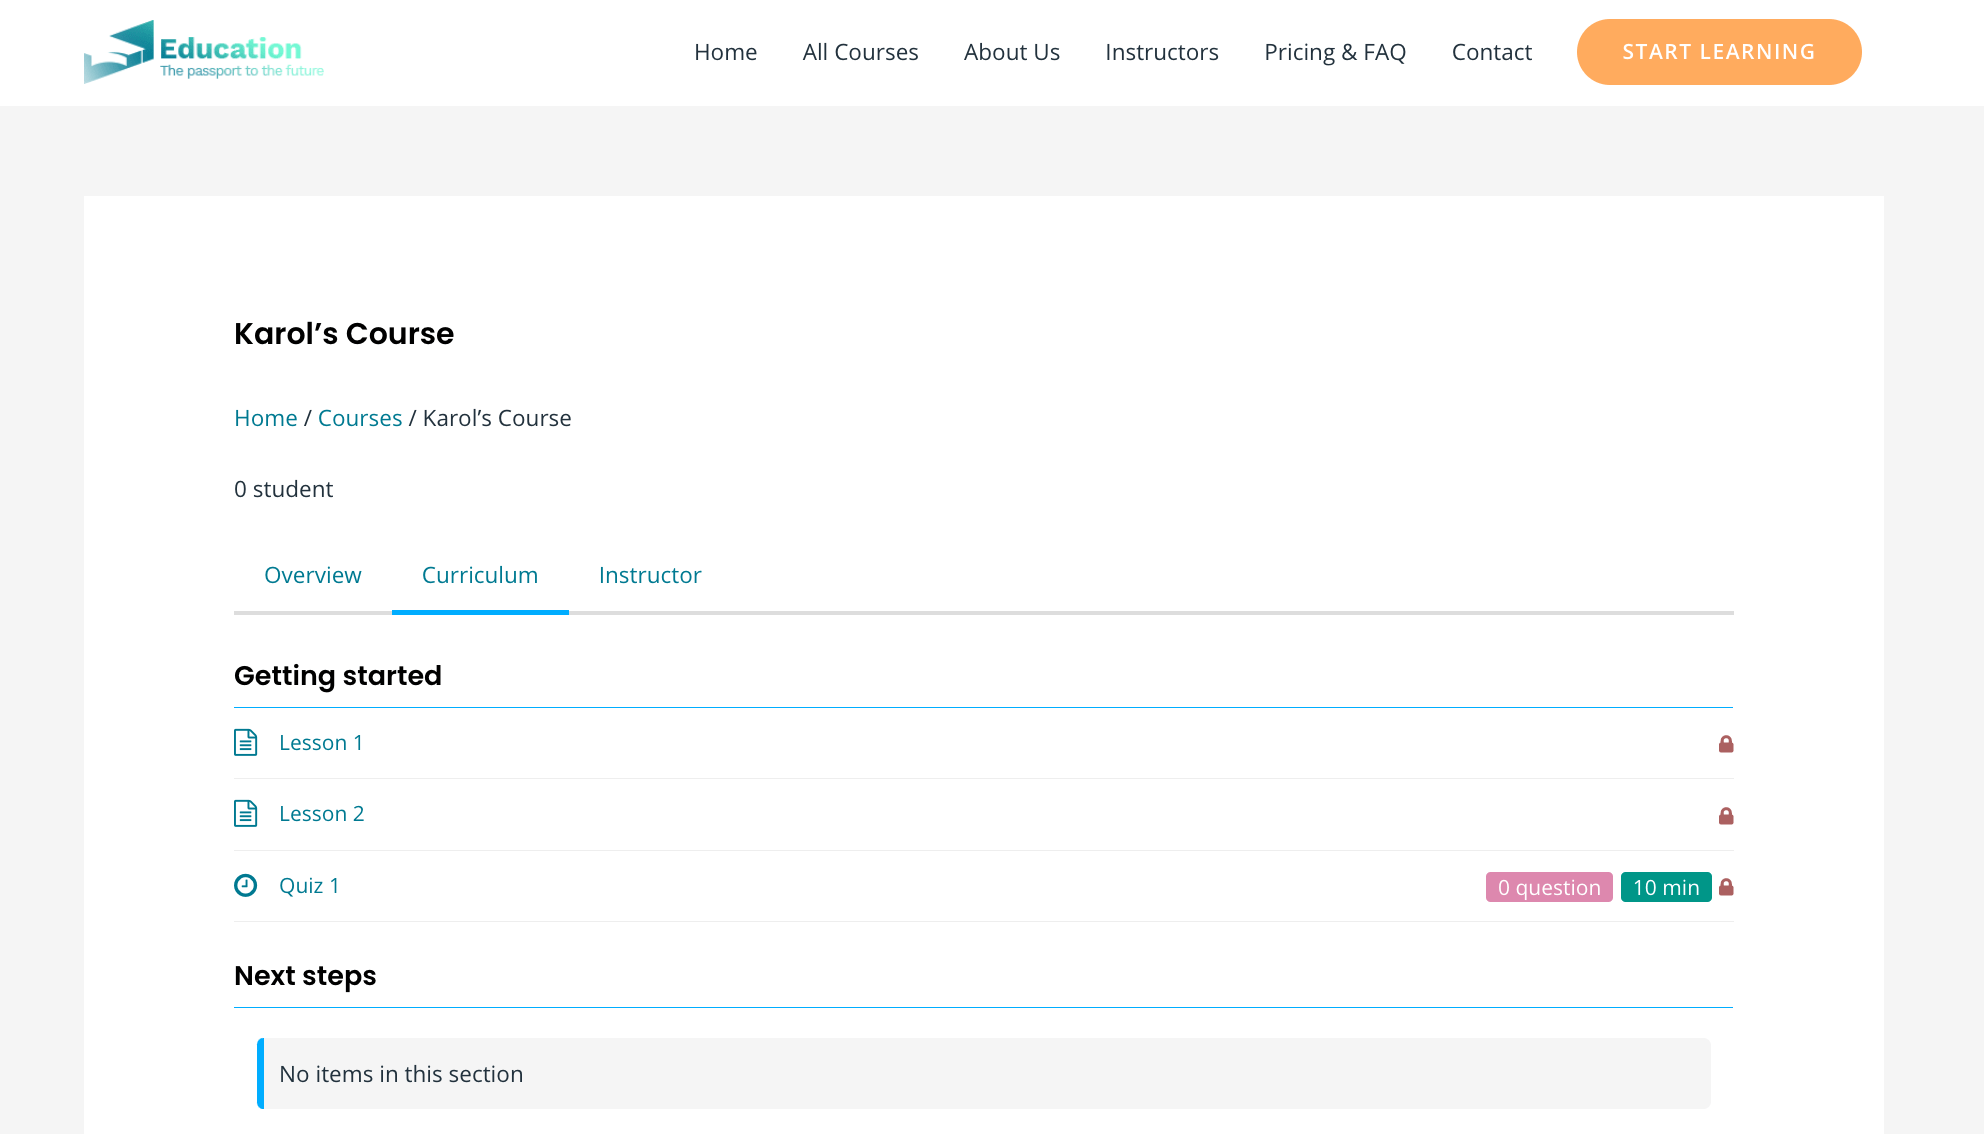
The courses can be found in the main Courses section of the WordPress dashboard.
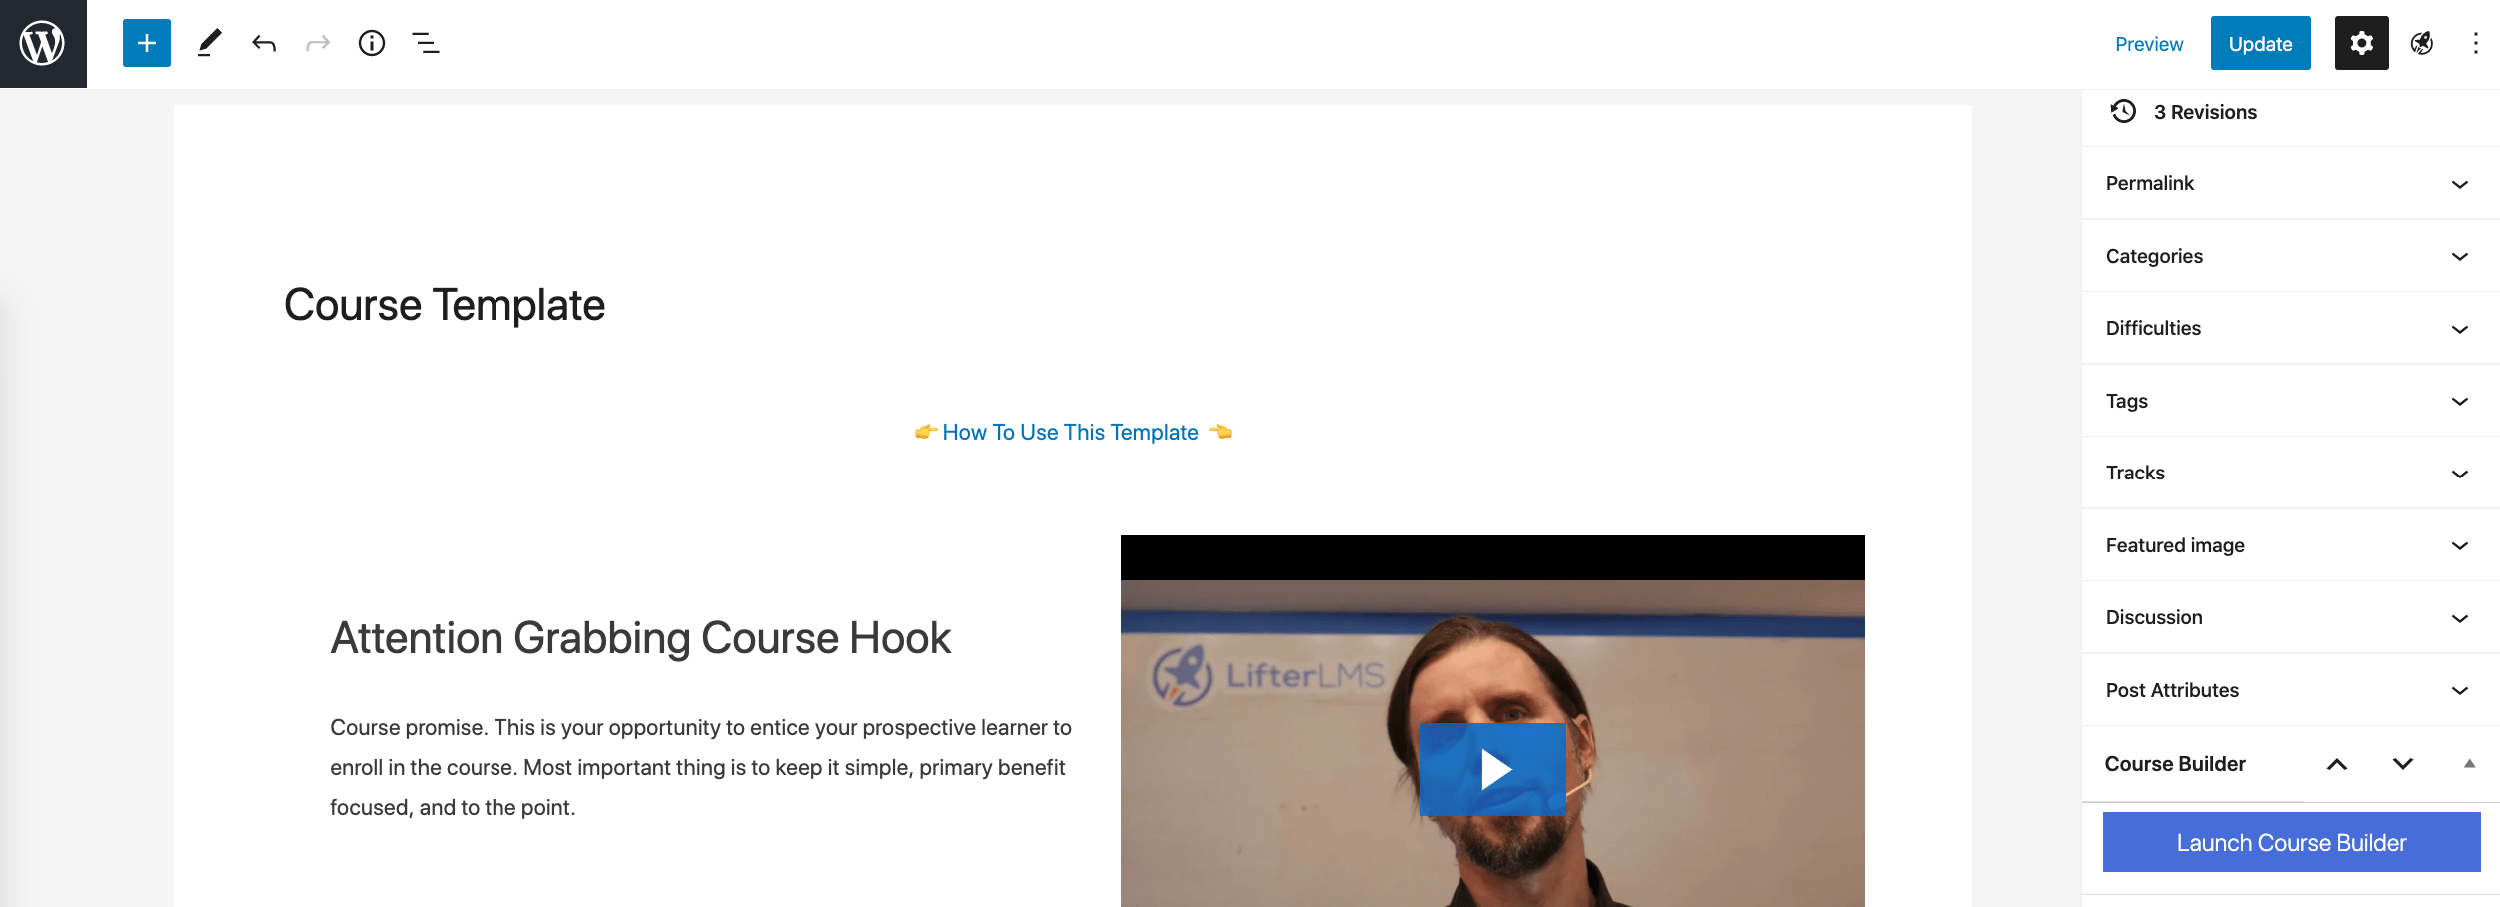
The easiest way to get started working on a course is to edit the Course Template provided with the demo package of LifterLMS.
Once you click on the template, you’ll see the familiar WordPress interface for content creation. This time, though, it’s fully block-enabled! The page you’re looking at is the course summary page. You can move elements around, add content to the page and link to individual lessons from the course.
Speaking of lessons, you can add those via the Course Builder module that’s available in the side menu of the block editor.
When you click on the blue button, you’ll see an original interface that should make working on your course elements easier than doing everything by jumping from page to page in the normal WordPress UI.
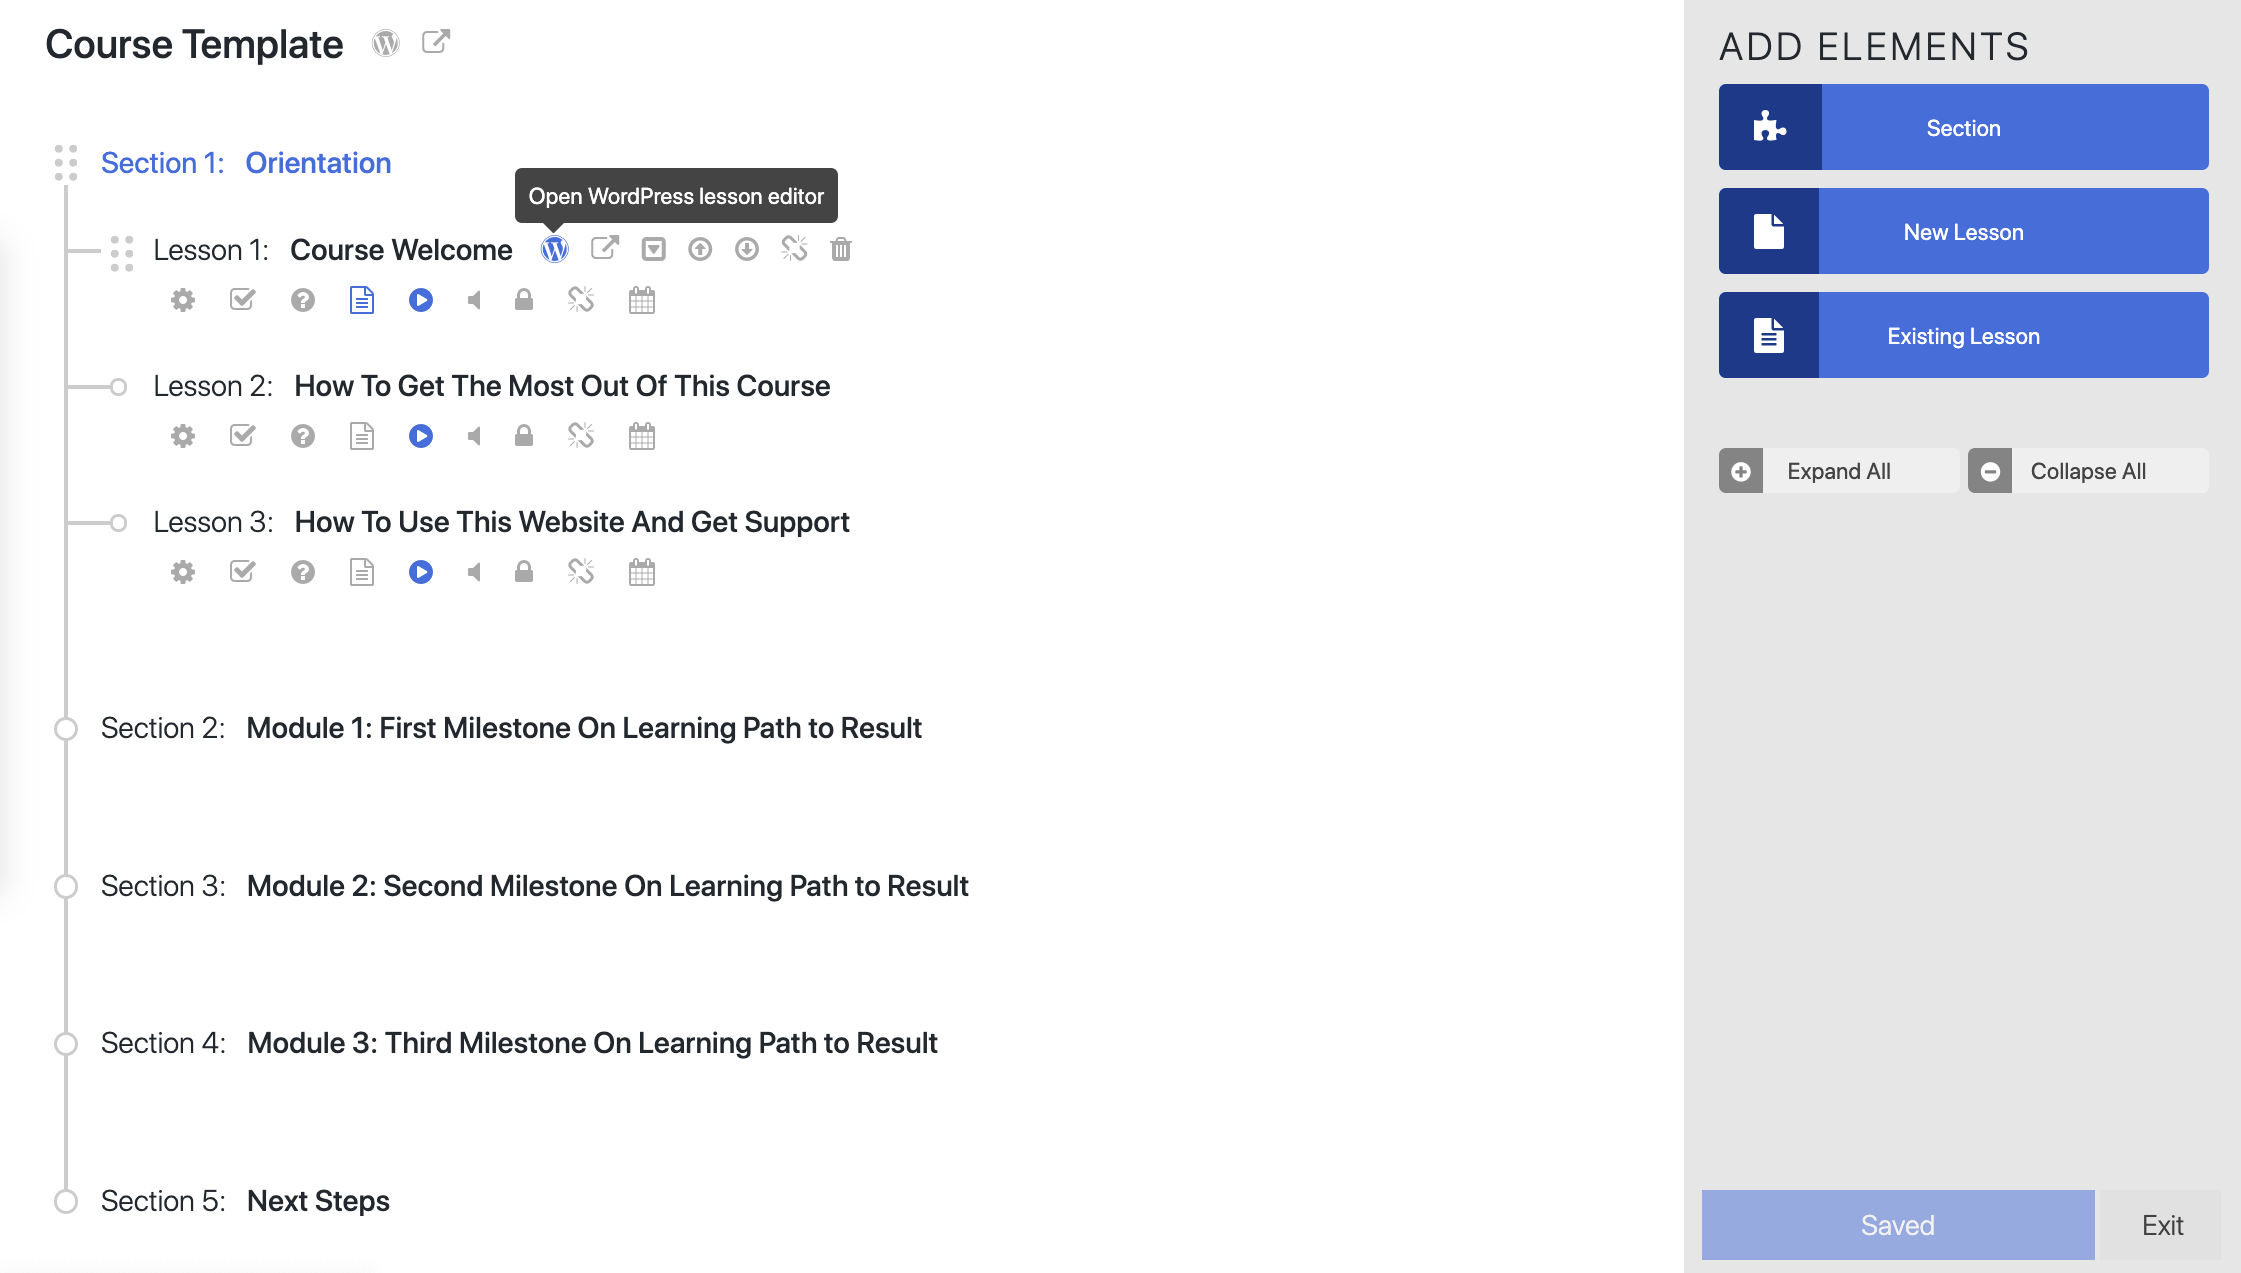
The elements you see in the screenshot above can be realigned by drag and drop, and also edited individually. Similarly, you can add new sections and/or lessons to the mix — this is done via the sidebar to the right.
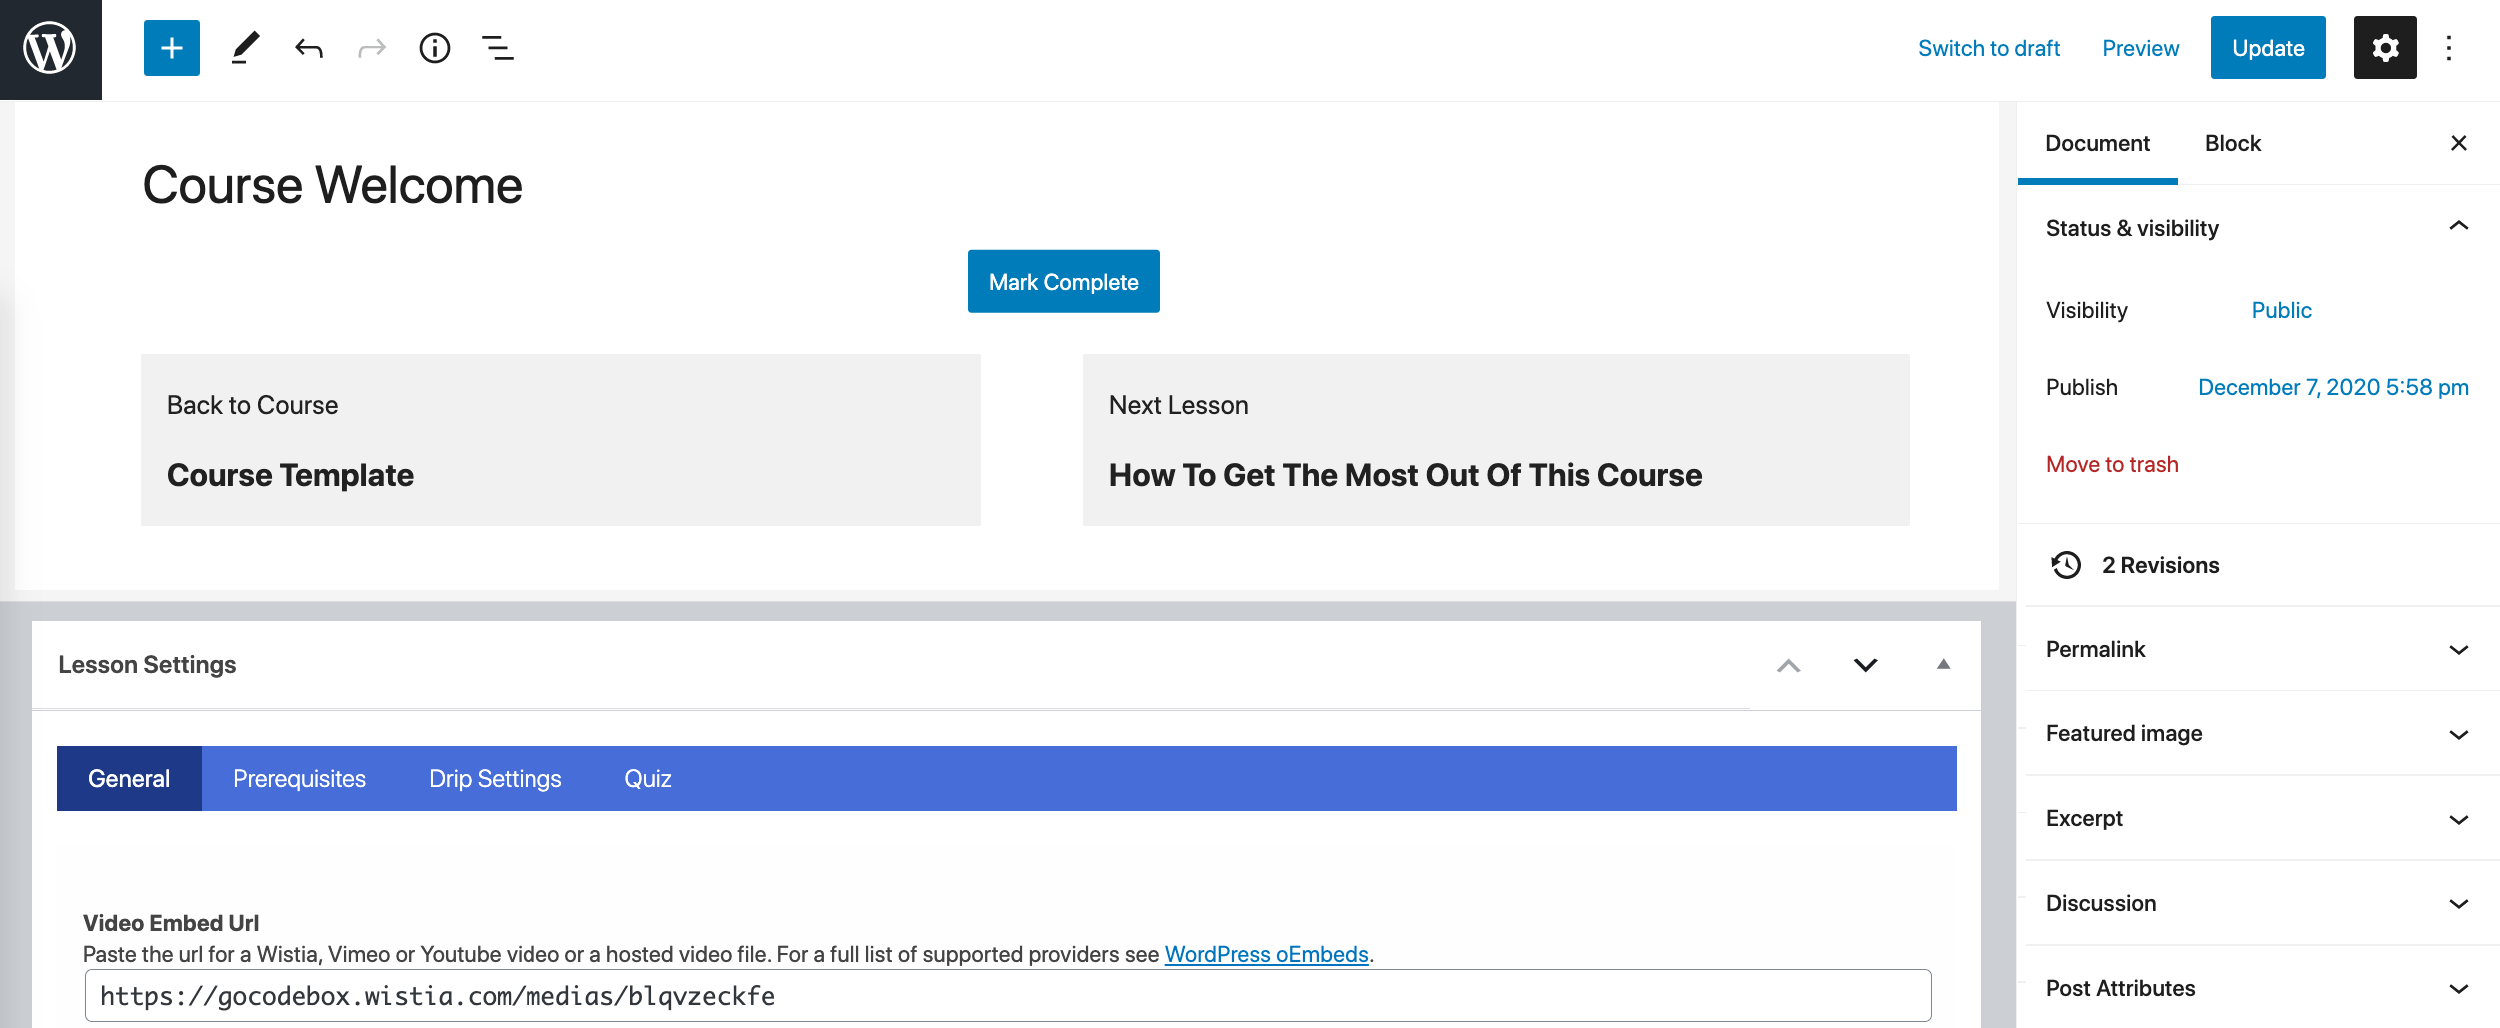
Each lesson can be edited using the same WordPress block editing interface. LifterLMS has native options for adding videos to your lessons, too. All you do is provide a direct link to the video on your favorite video platform, and LifterLMS will embed it in your lesson page.
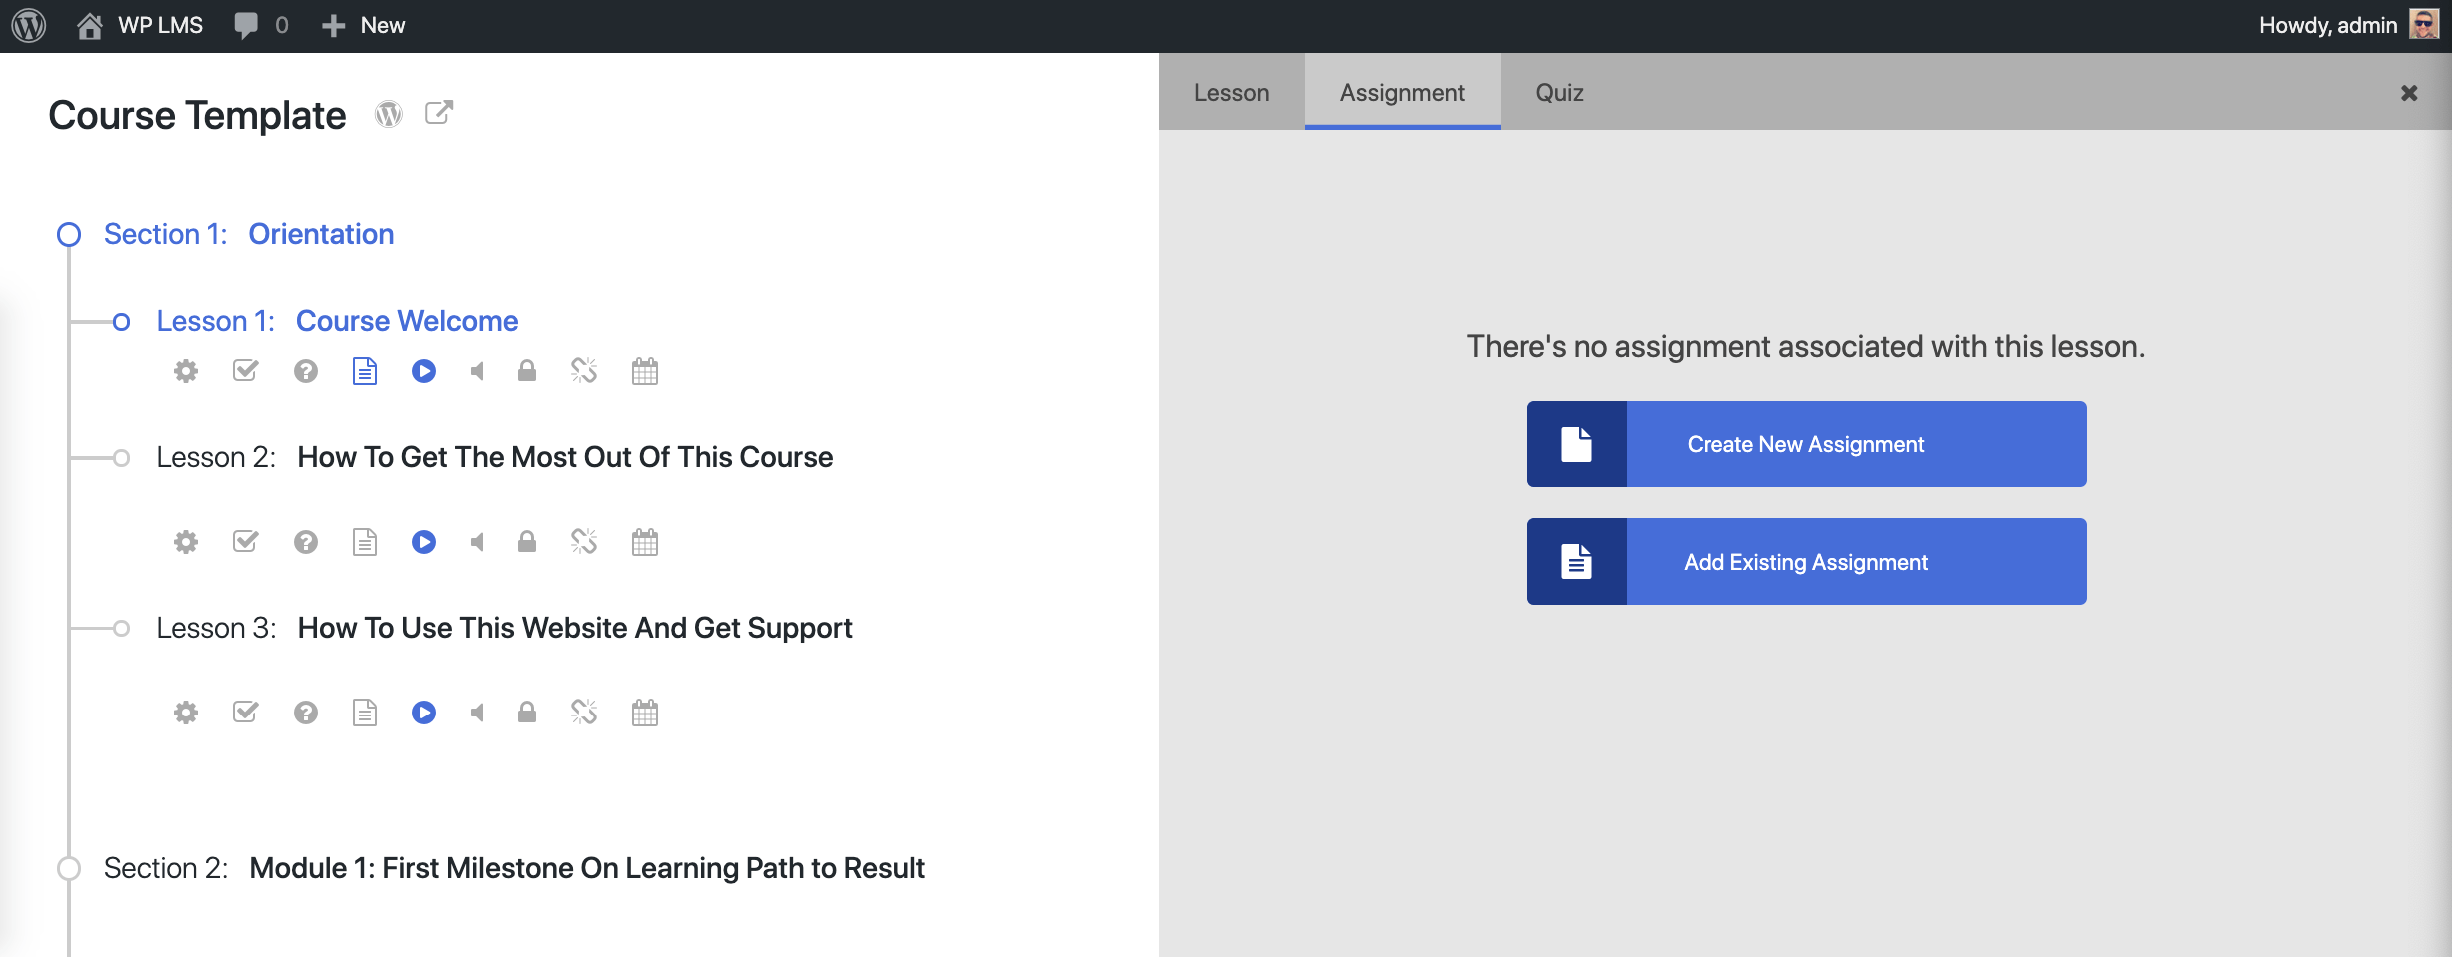
For each lesson, you can also add an assignment or a quiz. You can do that by first clicking on the gear icon next to the lesson and then switching to the Assignment or Quiz tab from the section on the right.
The things you can do with your course content, lessons and quizzes are just the tip of the iceberg. Apart from those, LifterLMS allows you to manage memberships and membership types, user engagements (achievements, certificates, badges), your orders (for paid courses) and loads of other things.
LearnPress ease of use: ⭐⭐⭐ /3
LifterLMS ease of use: ⭐⭐ /3
🎨 Design
The design isn’t something solutions such as LearnPress or LifterLMS are known for, nor good at. Basically, all you get is a standard output from both plugins.
This means the only content the plugins send to the front end is the course content itself. It’s then on you — or the designer — to make that content look great via either a good theme selection or some custom-coded solutions.
Both LearnPress and LifterLMS can technically work with any WordPress theme, and that’s true, but just don’t expect too much in terms of visual beauty.
Of course, some themes are more compatible with LearnPress and LifterLMS than others, and those themes will come with their own coded elements that make your courses better looking.
For LearnPress: You’re going to get the best results with its recommended theme — Eduma. You’ll also get okay results with themes such as Astra. Here’s my example build:
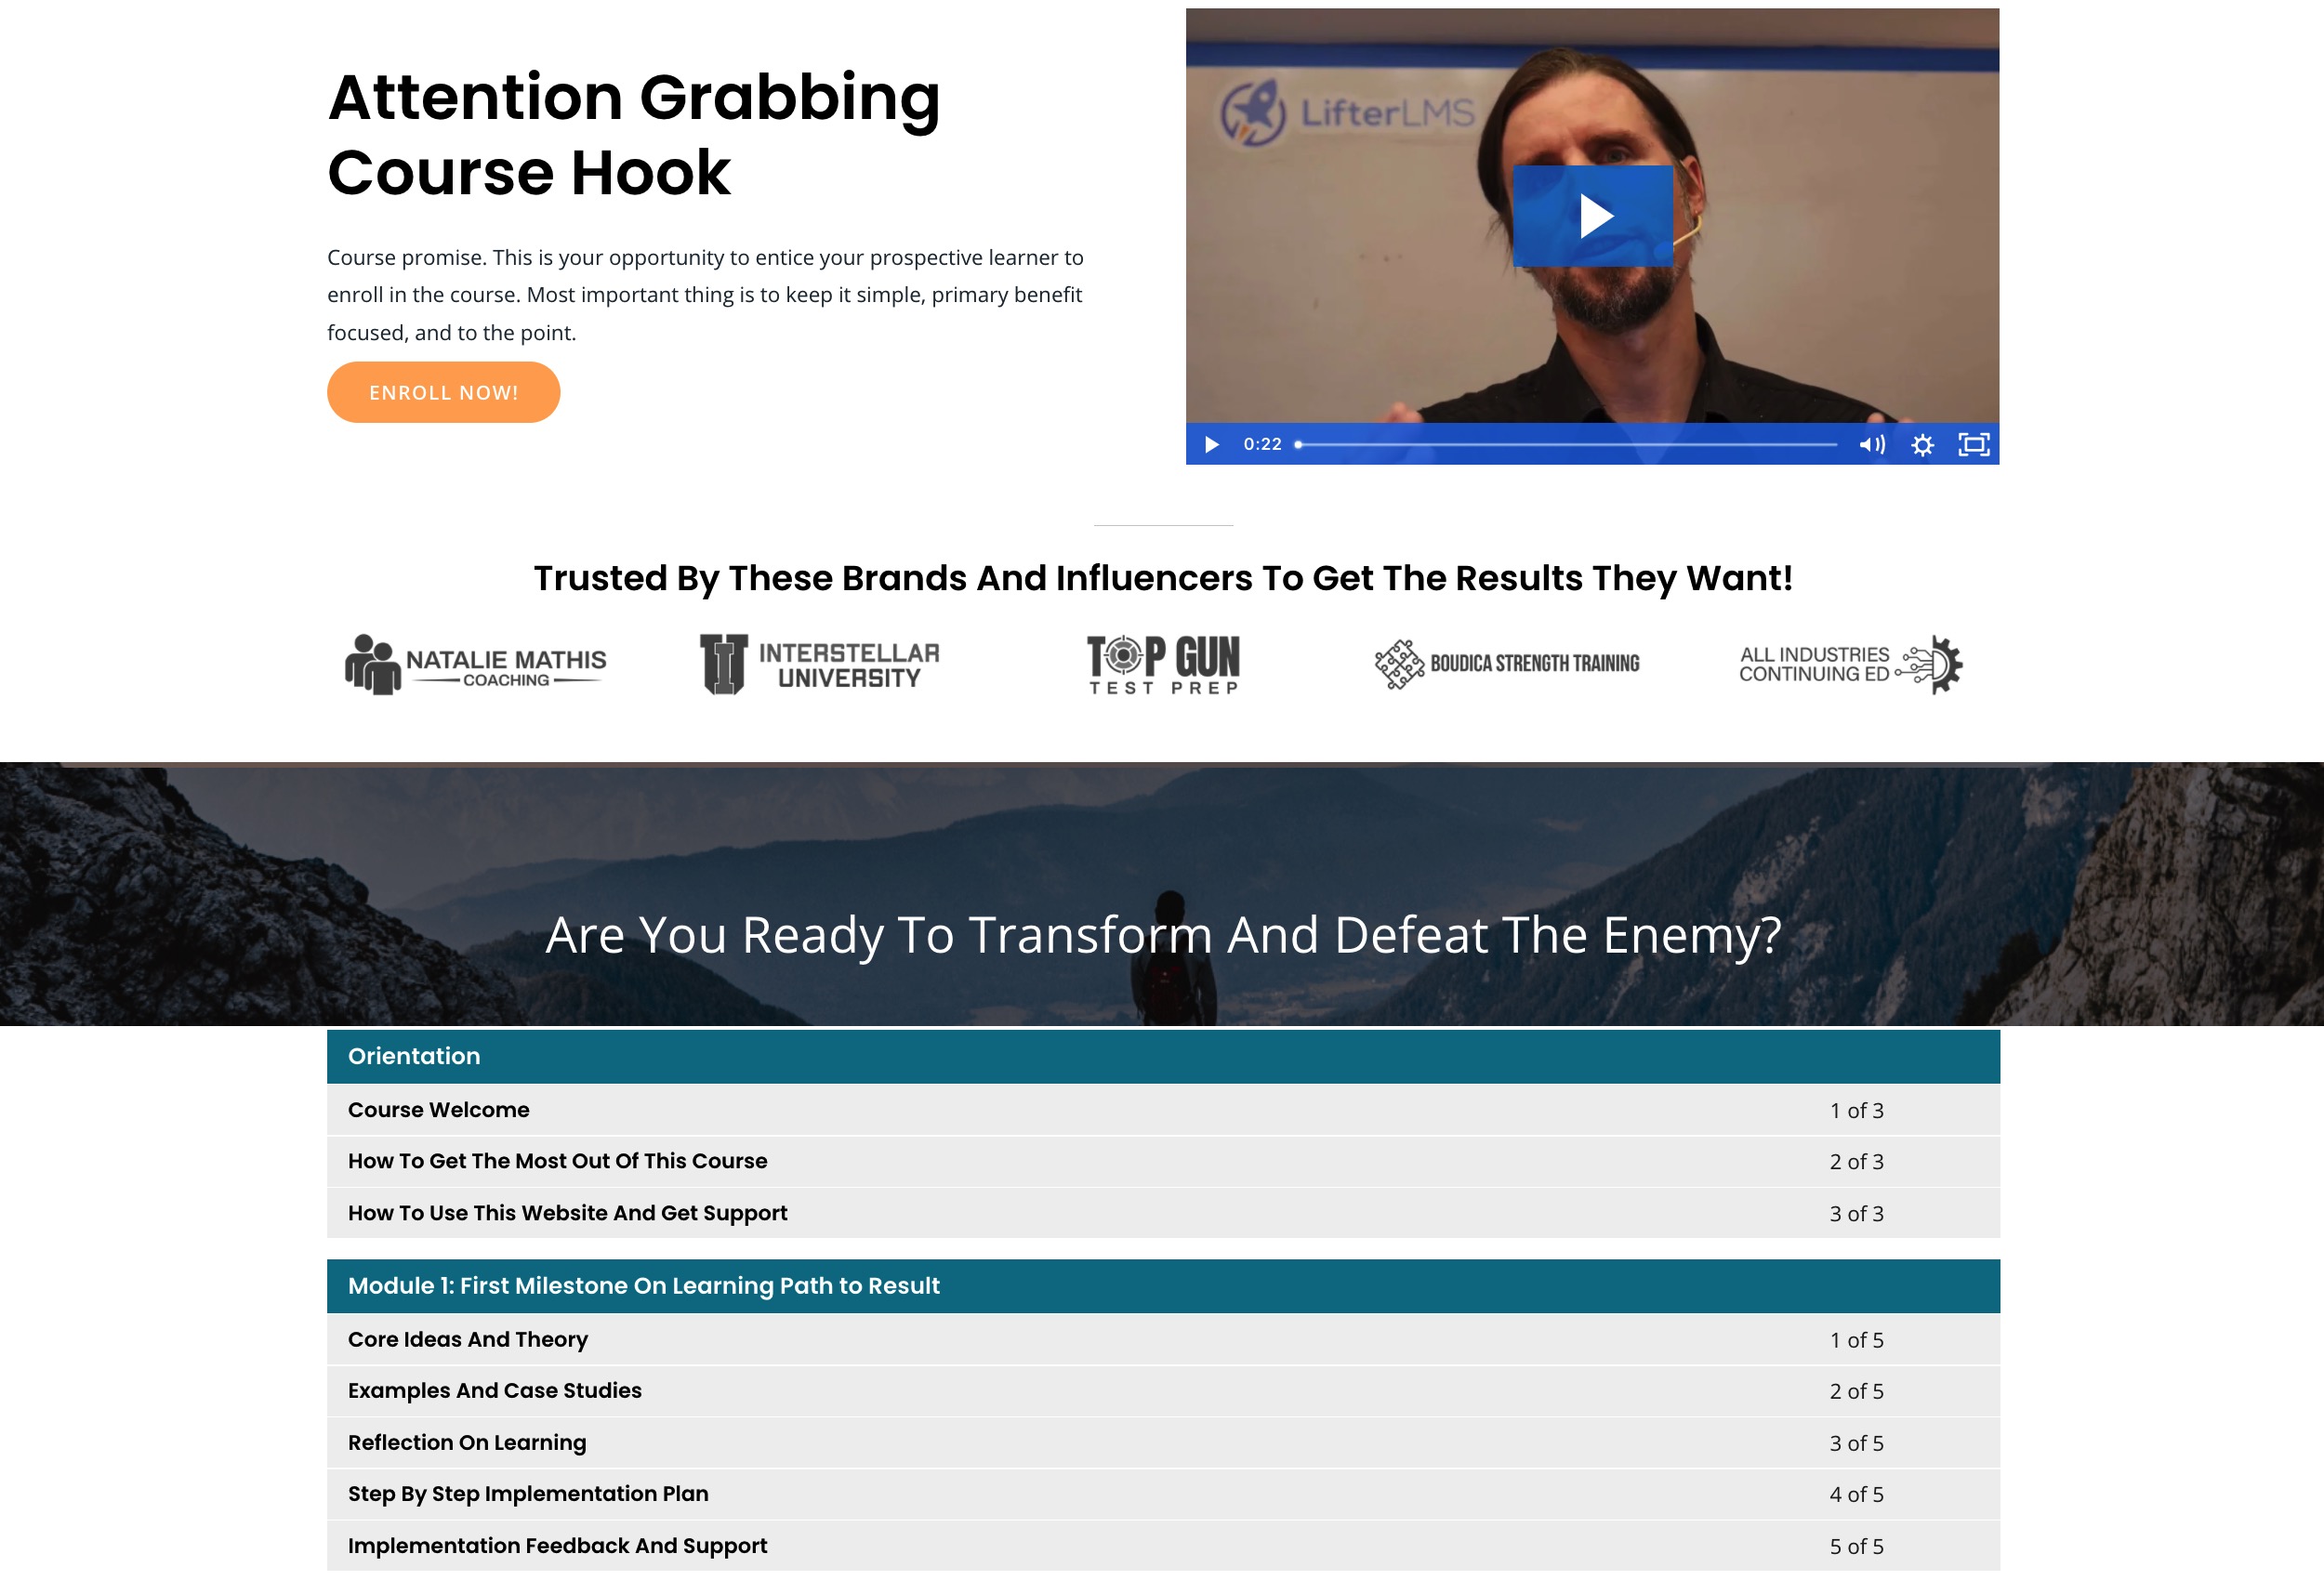
LifterLMS: It does a little more to make your courses look a tiny bit more appealing than LearnPress. While you’re still going to get the best results with LifterLMS’s recommended theme — LaunchPad — other themes also look okay. This is thanks to LifterLMS’s basic styling, which is put on every course page. Here’s my course page on Astra, for example:
LearnPress design: ⭐⭐⭐ /3
LifterLMS design: ⭐⭐ /3
💰 Pricing
This is probably what most of you want to know more than anything else.
First, let’s have some good news:
You can use either LearnPress or LifterLMS for free for basic applications, meaning you can set up an unlimited number of courses, add basic elements to them and welcome users to sign up and begin learning.
However, as I mentioned above, if you want to turn your courses into any kind of a commercial project — that is, if you want to make money — you’ll have to upgrade to one of LearnPress’ or LifterLMS’s premium plans.
That being said, the pricing models of either solution are fairly complicated. There isn’t a one-size-fits-all kind of tier. Instead, if you’re considering the premium versions, you’ll need to spend some time browsing the available add-ons and add-on bundles.
Here’s how the prices break down for the main bundles:
LearnPress pricing
- LearnPress Theme Bundle: $49-$69 — gives you access to almost all add-ons, plus one LearnPress-optimized theme of your choice. You’re allowed to use the add-ons together with that theme on one site. There are also lifetime updates and six months of support.
- LearnPress Pro Bundle: $249 — same as above, plus the assignments module, the possibility to use the bundle with any theme, and some other upgrades. For use on three sites.
- For individual add-on shopping, you can expect to pay from $0 to $250 apiece.
LifterLMS pricing
- Universe Bundle: $299 — gives you access to all design, eCommerce, marketing, CRM and form add-ons. You can use this license on five sites and get priority support.
- Infinity Bundle: $999 — everything above, plus advanced quizzes and assignments, private coaching features, social learning, advanced video, and groups. You can use this license on unlimited sites.
- Buying individual add-ons can cost you from $99 to $200 apiece.
As you can see, LearnPress is at least half the price of LifterLMS for basic applications — buying a single add-on from LifterLMS vs the Theme Bundle from LearnPress.
On the other hand, LifterLMS will be a better deal if you’re planning to launch multiple e-learning sites.
🏆 Which One to Choose?
We’re at the finish line here, so it’s time for some recommendations!
Overall, neither tool is the clear winner — both have their strong and weak points. Ultimately, deciding which one you’ll test out first should depend on your specific project and its goals.
- If you’re only testing the waters and want to add an e-learning component to your existing site, LearnPress can be more effective for that. It’s a bit easier to grasp for course building and cheaper if you ever decide to upgrade.
- If you’re building a completely new website and want to make it solely about online courses, then LifterLMS may be better for that. It’s overall more functional, more modern with block editing support, and takes over the WordPress dashboard to highlight your courses. While there’s a bit more to learn with LifterLMS before you can use it efficiently, it’s nothing too difficult to grasp once you spend an afternoon figuring it out.
Here’s a quick summary of how I’m rating each solution on some key characteristics:
FEATURES: ⭐⭐ /3
EASE OF USE: ⭐⭐⭐ /3
DESIGN: ⭐ /3
PRICING: $0, premium from $49
🌱 Beginner’s choice
FEATURES: ⭐⭐⭐ /3
EASE OF USE: ⭐⭐ /3
DESIGN: ⭐⭐ /3
PRICING: $0, premium from $99
💪 Power user’s choice
Used/using either of these two plugins? Thoughts and experiences?
Related Posts:
Discover more from WPChestnuts
Subscribe to get the latest posts sent to your email.